Overview
Prerequisites
- A game developed in Unreal Engine 4.27
- PureWeb React web client template and SDK version 3.9.x or later
NOTE: If you are using Unreal 5, click here.
Prepare Your Unreal Project For Cloud Deployment
Create a C++ Class If Necessary
Currently, the PureWeb plugin will only successfully be built into your project if your project contains at least one C++ file. If you already have some in your project, then you can skip to the next step.
If you do not have any C++ files in your project, creating a single empty C++ class in the Unreal Editor will be sufficient.
From the menu bar, click Tools/New C++ Class, then give your class a name and click the "Create Class" button.
NOTE: You will likely need to close and reopen the project and allow the Unreal Editor to rebuild the project before continuing with the next step.
Enable Pixel Streaming
While still in the Plugins window, find the Pixel Streaming plugin under Built-In\Graphics and make sure that the box next to Enabled is checked.
Add the PureWeb Plugin
In order to properly stream your game through PureWeb Reality and enable your project to dynamically adjust its resolution based on the viewport size you’ll need to download the latest version of the PureWeb Platform Unreal plugin.
Browse to the project folder for your game, and in the folder that contains [ProjectName].uproject create a folder called Plugins if one doesn’t already exist.
Unzip the PureWeb Platform plugin, putting the PureWeb folder into the Plugins folder from the previous step. You should have a folder structure that resembles the following:
[ProjectFolder]\
	[ProjectName].uproject
    Plugins\
    	PureWeb
Open your project in Unreal Editor and click Edit > Plugins from the menu bar. The PureWeb Platform Plugin should now show up in the list of installed plugins. Make sure that the box next to Enabled is checked.

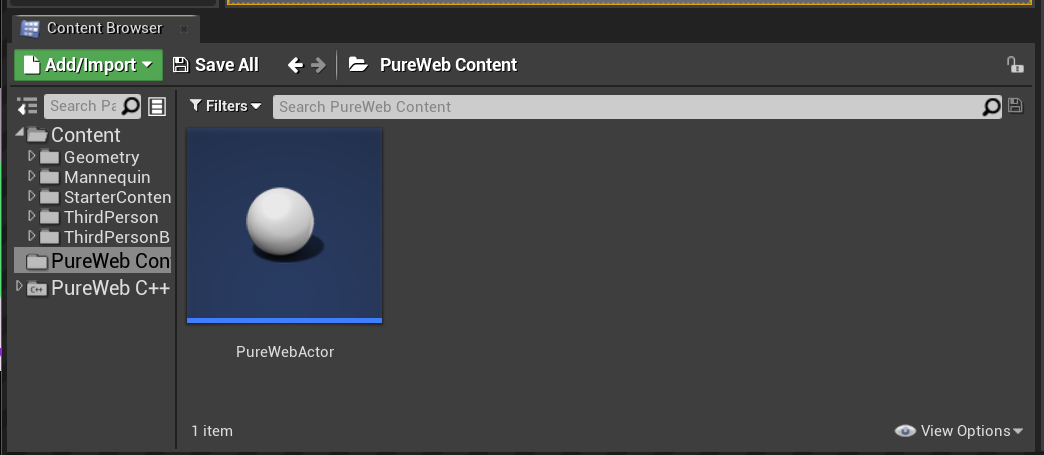
The last step to make sure the PureWeb plugin is properly utilized is to add the PureWeb actor to your scene. In the Content Browser, click on PureWeb Content and drag the PureWebActor into the scene.
Note: If you do not see the PureWeb Content in the Content Browser, click on "View Options" in the bottom right of that box and enable "Show Plugin content".
Configure the in-game mouse pointer
Pixel Streaming through the PureWeb Platform works best when the cursor is rendered locally only. The default used by the Unreal Pixel Streaming Plugin is to render a remote software cursor, but we want to set this cursor to None in the Pixel Streaming Configuration before packaging.
Open the Project Settings window and scroll down to PixelStreaming under the Plugins heading. Change the setting for Pixel Streamer Default Cursor Class Name to None.
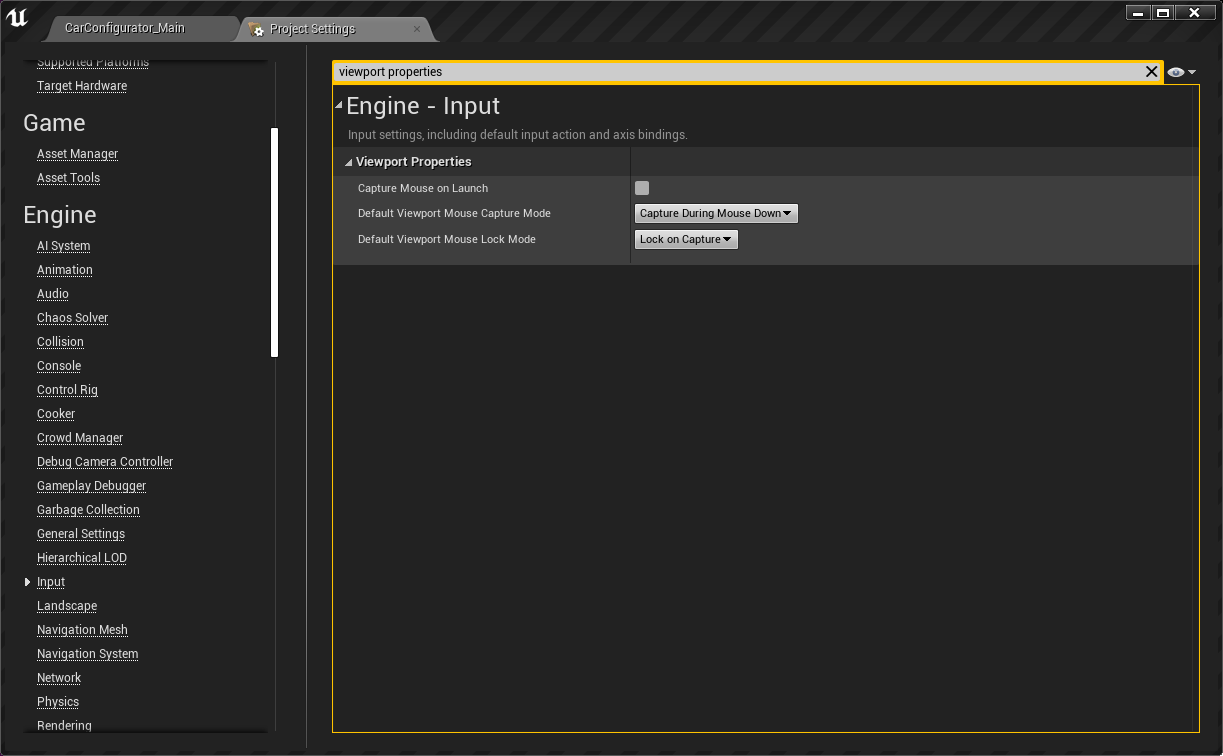
For most projects, you will want to configure your Viewport to only capture during mouse down. The Default Viewport Mouse Capture Mode setting is found under Engine - Input\Viewport Properties in the Project Settings window.
Disable Motion Blur
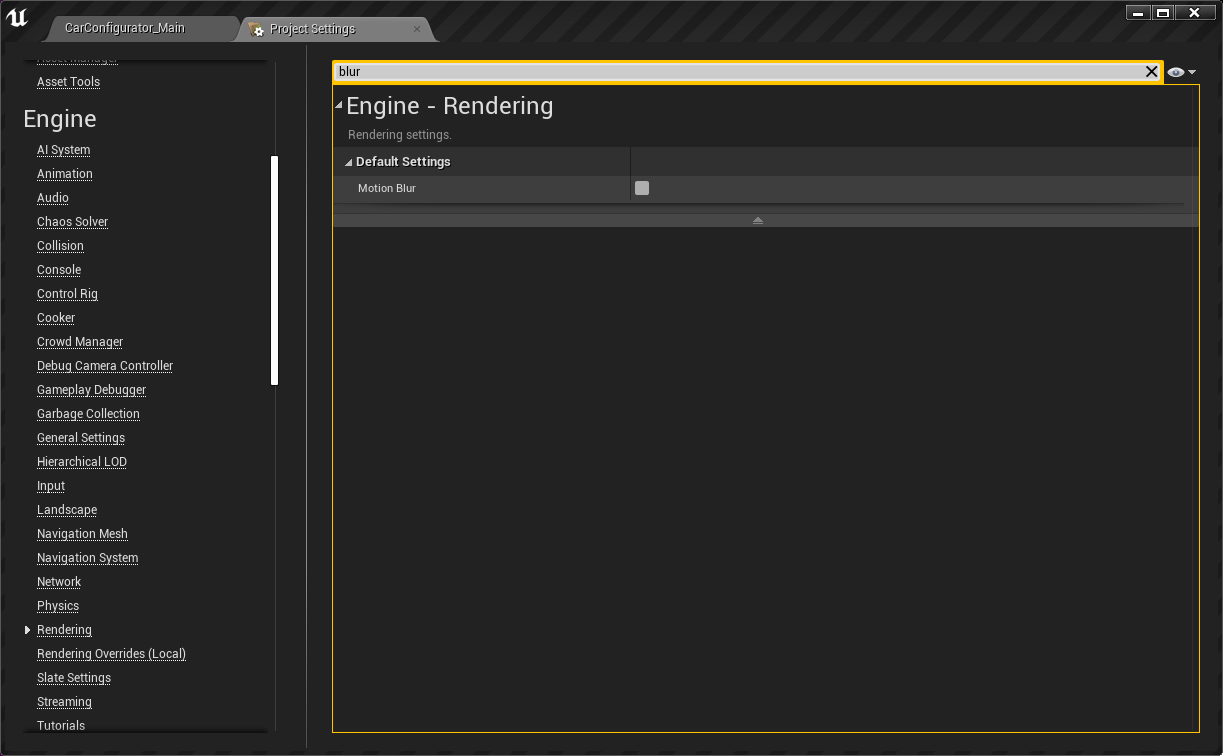
Motion blur affects the performance of the stream negatively, putting unnecessary load on the server without little or no gain on the client side so we recommend disabling it.
The Motion Blur setting can be found under Engine - Rendering\Default Settings in the Project Settings window.
Enable “Hardware Video Decoder”
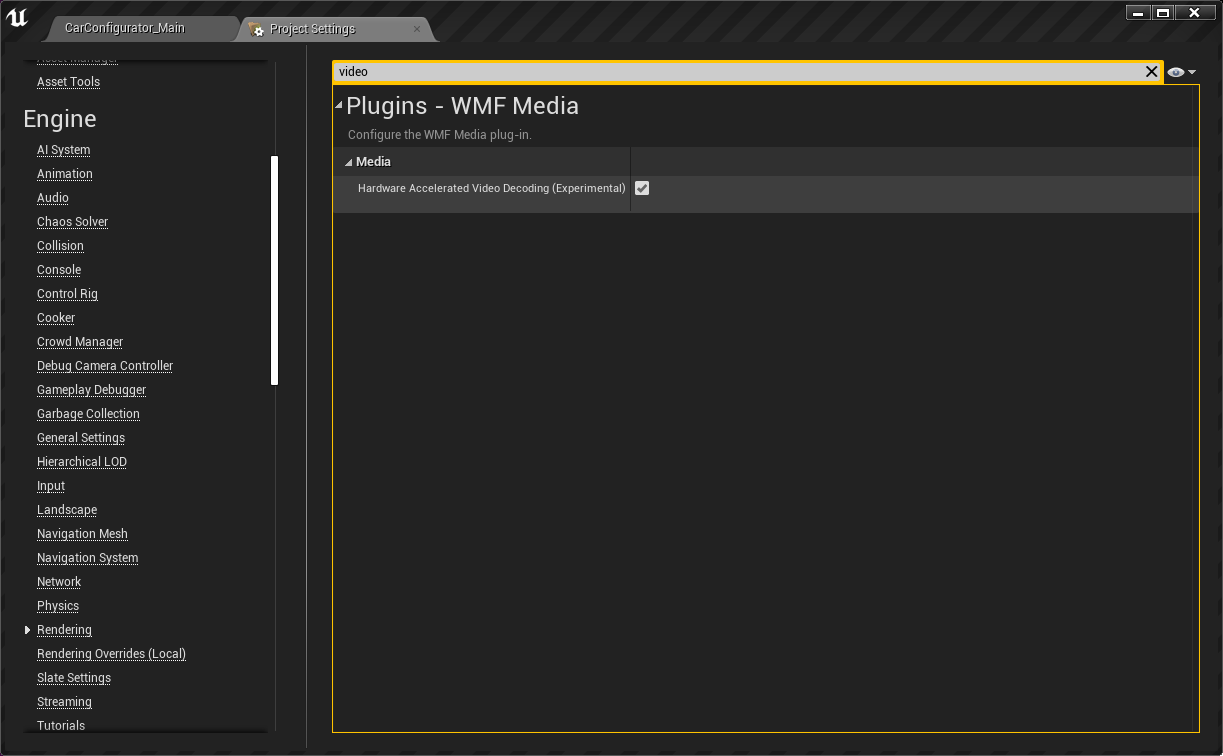
When playing back full motion video (FMV) in your project you may want to activate Hardware Accelerated Video Decoding. Although currently experimental, enabling this feature reduces the strain on the CPU.
To use this, enable the Hardware Accelerated Video Decoding (Experimental) setting in the Plugins - WMF Media section of the Project Settings window.
Create a Blueprint to capture Pixel Streaming input
In order for your Unreal 4.27 game to receive inputs from the Pixel Streaming plugin, such as resizing the game to fit the browser window, you need to do the following steps in your game's default level:
- Create an Event BeginPlay node
- Drag from the output of the BeginPlay event and create an Add Pixel Input Streamer Input Component node
Your blueprint should look like the below example:
Package Your Project
Package your project for Windows only, and please do not use spaces in your folder or file names.
We recommend using the default Windows compression tool to zip your game package prior to uploading it to your console account.
The folder structure of the zip file should similar to this:
[ProjectName.zip]
	Engine/
    Source/Programs/PixelStreaming
	[ProjectName]/
[ProjectName.exe]Next Steps
Now that your project is configured and packaged you’re ready to:
- Test Streaming Your Project Locally
- Upload and Test Your Project in the Cloud
NOTE: You'll need to target Unreal version 4.27 in our console to enable full support. (See here for details.) - Optimize your Unreal project for online distribution