Overview
Our CloudXR streaming is available on Meta Quest 2/3/Pro devices. Here we describe the setup process for a Meta Quest 3, but the process for other Meta devices will be similar.
This document assumes that you are setting up a Meta Quest 3 and Meta Quest Developer Hub application (MQDH) for the first time for game development with the PureWeb CloudXR compatible client. In order to load the client onto the Headset you will need to set up the Headset in ‘Developer Mode’ as will be described below.
We recommend using a Windows PC; Bluetooth capability is required.
You will also need the Meta Quest app for Android or Apple phones to complete part of the setup and authorization process. This app is available free in the appropriate store.
USB Cable Considerations
Our testing has found that the USB-C cable supplied with the Meta Quest 3 headset performs unreliably for data transfers and recommend using a third party USB-A (standard) to USB-C cable, rather than the supplied one.
Please be aware that the PC's USB port is unlikely to be able to supply enough current to charge the Headset with a third party USB-A to USB-C cable.
Bandwidth Considerations
The bandwidth requirements for streaming to a headset are extensive. A Quest 3 headset requires two streams of 2064 x 2208; one for each eye, so to stream a Cloud XR experience comfortably, you'll require 50Mbps minimum, but we highly recommend bandwidth of 100Mbps or better for an optimal experience.
Loading the PureWeb Client
Meta Quest Developer Hub
The Headset uses PureWeb client applications that must be sideloaded onto the device. In order to do this, you must first install the Meta Quest Developer Hub application.
1. Install the Meta Quest Developer Hub application (MQDH) available at: Meta Quest Dev Center - Meta Quest Developer Hub.
(The latest Windows version of the MQDH was v4.4.1. at time of writing.)
2. Once installed on your Windows PC, start the MQDH and give it permission to access Bluetooth.
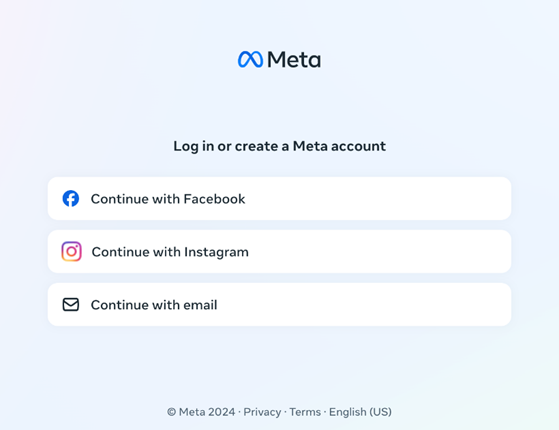
3. When prompted in MQDH select “Create Developer Account.”
This is necessary to allow the side loading of the PureWeb clients.
MQDH will open a webpage. Select an identity verification method. In this example we use Email.
4. You will be asked to enter a valid email address, create a user name & password, and enter your date of birth.
5. A confirmation code will be sent to the email address you entered.
6. For ‘Meta Horizon’ you will be required to provide a Name and Username not already in use.
7. Set up a device for two factor authentication. Meta requires either a credit card or a phone number for security purposes. A credit card is not needed for our system, this is just Meta requirement.
We used 2FA on a mobile device, so in our case we chose ‘SMS’. We then received a code and entered it when prompted on the webpage.
8. Restart the MQDH application and log in with the email and password you created in step 4.
An “Unverified Developer Account” window should pop-up.
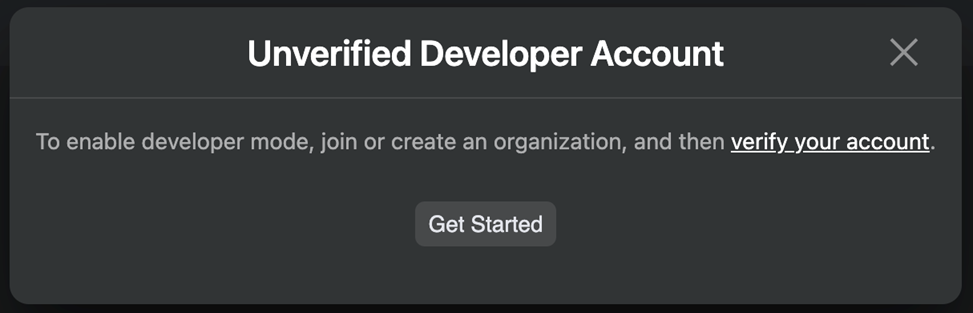
9. Click on the “Get Started” button, the fill in the required information on the webpage.
To enable ‘developer mode’ you must enter an organization name, which can be anything you like, as long as it isn’t already in use.
Setting up Your Headset
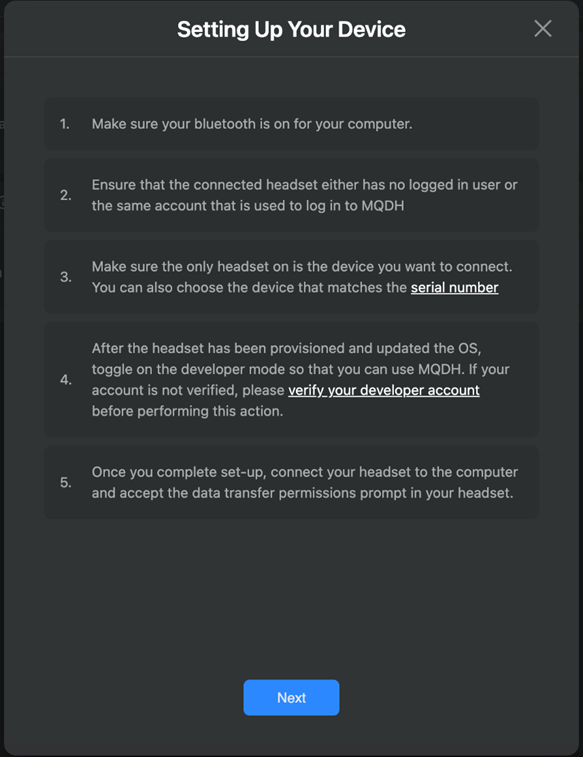
There are 2 ways to set up the Headset, either (A) by connecting to a PC or, (B) via a mobile app. The mobile app path is described here, so install the MetaQuest app on your phone if it is not.
The Headset and the computer you use must be on the same Wi-Fi network for the rest of this section. If your Headset is not already set up for Wi-Fi, do this now.
10. Return to MQDH, close the application and log in again.
11. Choose “Set up new Device”, then enter the email address you used when setting up your MQ developer account. You will receive another verification email with a code, enter this in the mobile app.
12. An SMS will be sent to your phone with another verification code, enter this code into the mobile app, and allow it to ‘connect to nearby Bluetooth devices’.
13. Select “Pair new device”, and the app should detect the Headset, so select your Headset (Meta Quest 3) from the list when prompted.
You will be required to create a pin number for use in case you get locked out. Make sure you record this somewhere for future reference.
Once pairing is successful you can set up developer mode from the mobile app.
Developer Mode
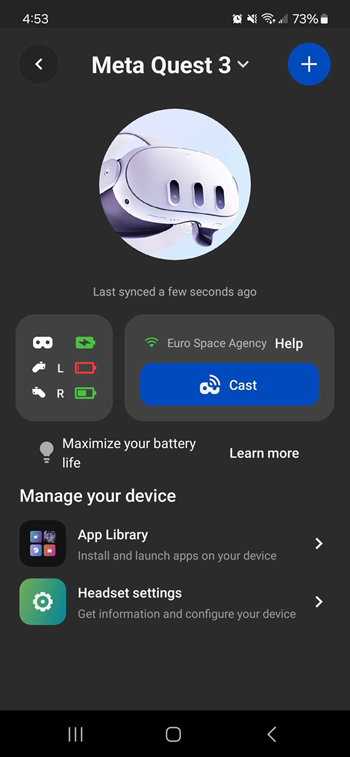
In the mobile app select your Headset device as below.
14. Under “Manage your device”, “Headset Settings” -> Developer mode -> Debug Mode = On.
15. Return to the Headset. From the menu bar Select “Library” (far right).
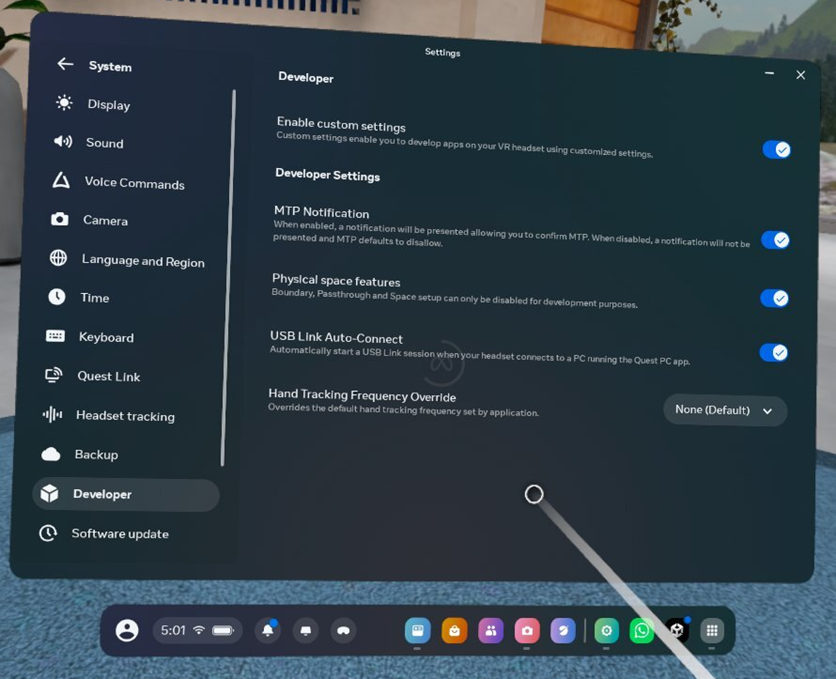
16. Click on the ‘Applications’ tab at left and with the dropdown at top center set to ‘All’, Select -> Settings -> System.
In that menu you should now see “Developer”. If you don’t, then reboot the Headset and confirm that Developer mode is enabled on the mobile device. If it doesn't show after the first reboot, continue rebooting until it appears.
17. Plug the USB cable into your computer and the Headset. There should be a sound from the Headset and the “Bell” icon on the toolbar should show a USB event.
18. Click on the Bell icon to open notifications, where you should see a “USB Detected” notification. Click on this to allow the PC to connect to the Headset as a USB device.
The File Explorer should open and show the Headset as a USB disk device.
(Note: The ‘File Manager’ tab shown below does not allow you to navigate to the appropriate folder to install the configuration file for the client as described in the next section).
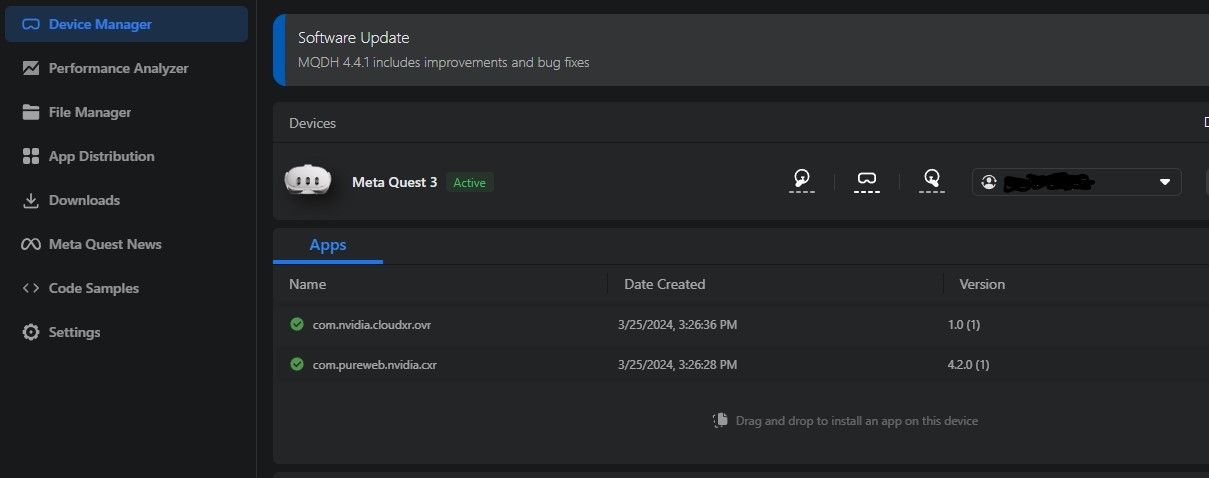
19. Open MQDH and select the “Device Manager” tab. The Headset should show as “Active”.
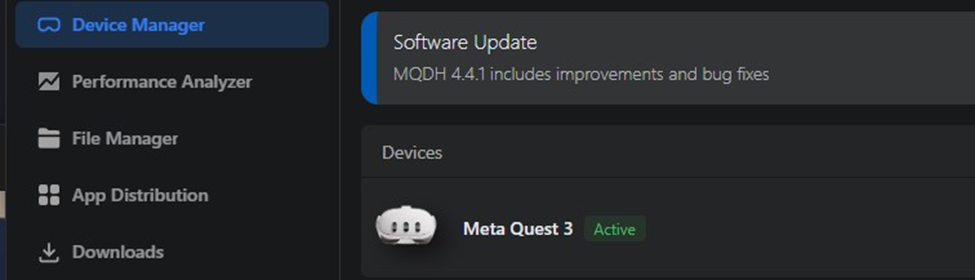
Your Meta Quest 3 headset is now set up for developer mode.
PureWeb CloudXR Client Installation
In order to access CloudXR applications uploaded via PureWeb’s console you will need to install 2 clients. Download the following to your computer and install them:
- Unity Version 7.4.2
- Android Version 2.1.9
- Download Link: CXR Client Package
20. Connect the Headset to the PC via a USB cable, in the Headset click the notification Bell icon and allow USB connections.
21. Open the MQDH application, select “Device Manager” and check the Headset is Active (as above).
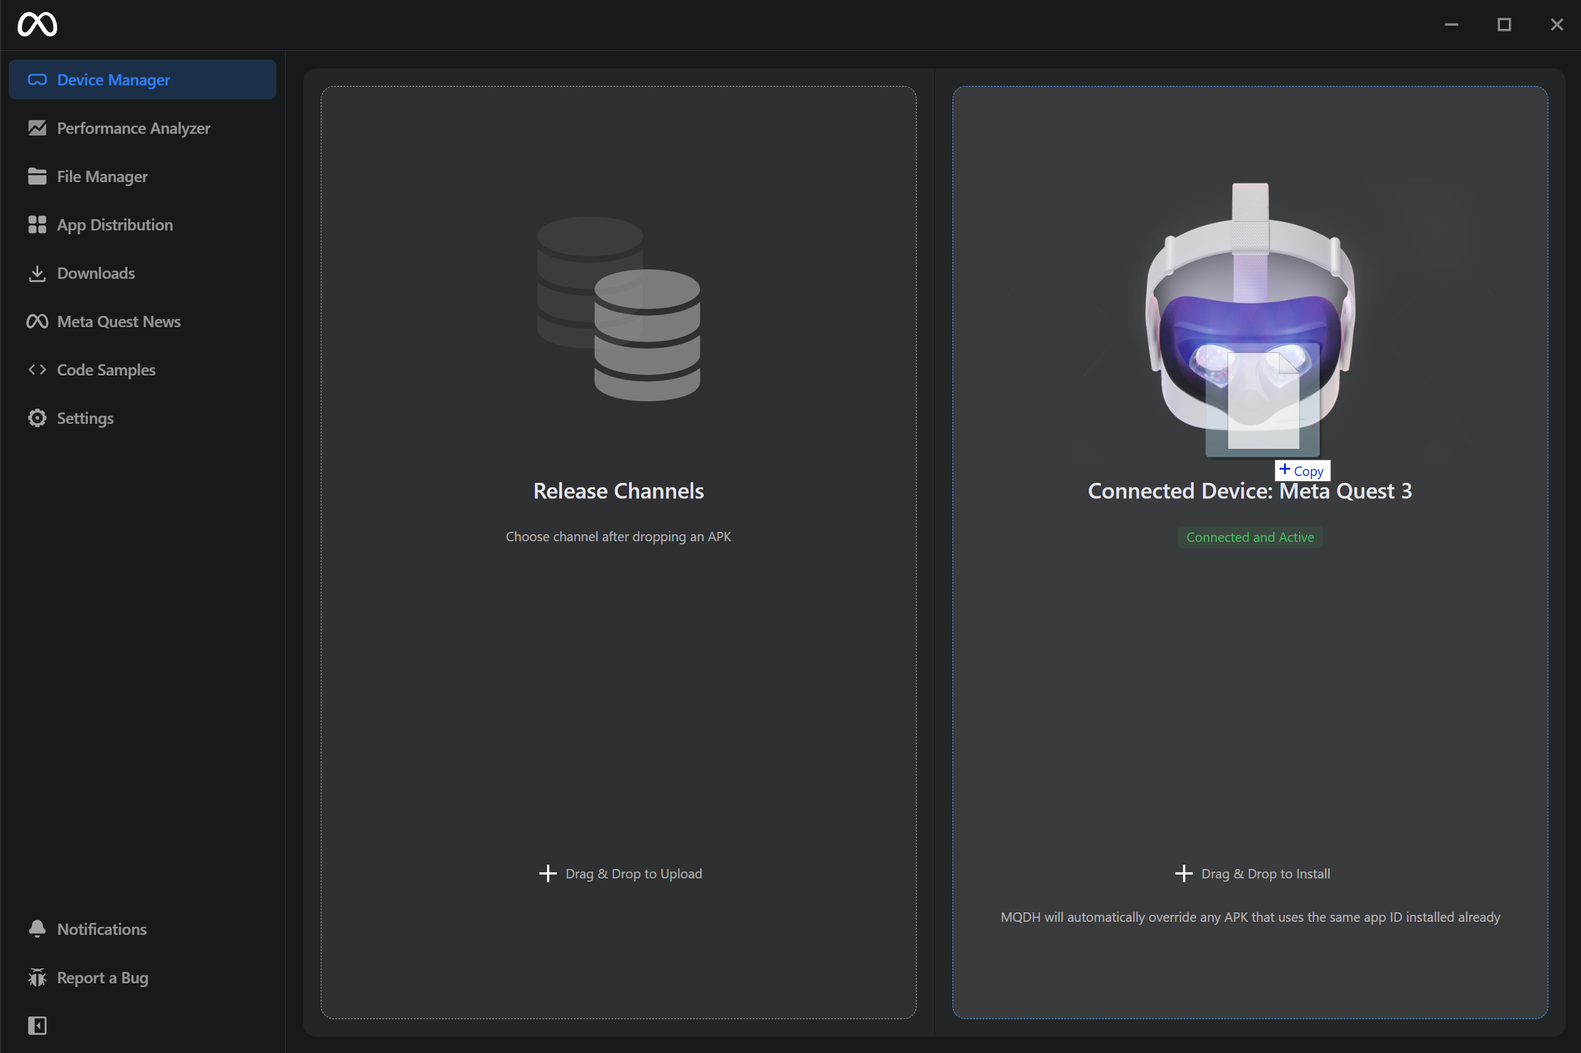
22. In file explorer select the APK files one at a time or together and drag them onto the MDQH application under the Device Manager “Apps” area.
As you do this a new dialog will pop up for the destination. Drop the apps onto the “Connected Device: Meta Quest 3” pane, (not “Release Channels”). Wait while the clients install. You should see 2 clients loaded.

Once the clients are installed, the Unity client must be configured to be able to access our platform; by pointing it to a CloudXR-enabled project in your PureWeb console account.
Configuring your Console Project
A prerequisite of uploading a CXR compatible model is to have access to a CloudXR-enabled project and to set the project to “Allow Unrestricted Access.”
To enable this, click on the ‘cog’ icon next to the project dropdown. The dialog below will appear.

Toggle "Allow Unrestricted Access" to ON.
23. In the PureWeb Console upload your CloudXR compatible model to your CXR-enabled project.
For more information about enabling your game package for Cloud XR, see one of the following links:


24. Open the project settings and take note of the Project ID (found under the details tab in the screen shown above).
25. Next, find the model tile for your game package, and click on the ‘…’ button. Under ‘Details’ on the model card, take note of the Model ID.
Configure the Client
The client must be configured by adding these identifiers to a JSON file similar to that below. Create a file in a text editor. The file must be named ‘client.json’. Set the projectId and modelId identifiers as copied above and save the file.
Updating client.json File (Please see 2 timelines as mentioned below)
The client.json file requires the nativeClient property for configuring the Android client.
1. New Client Property (for clients created after September 30, 2024):
Copy code below to your client.json file
"nativeClient": "io.pureweb.xr.cloudxr.ovr"2. Older Client Property (for clients created before September 30, 2024):
Please ensure that the line in your client.json file is displayed as per below
"nativeClient": "com.nvidia.cloudxr.ovr"Note: If you're using a client older than September 30, please ensure that the nativeClient property reflects the older naming convention. This differentiation will help in troubleshooting and ensuring proper setup based on your client version.
Additional Notes: Do not modify 3rd line from the client.json file as per below
{
	"projectId": "your-project-id",
	"modelId": "your-model-id",
	"endpoint": "https://api.pureweb.io",
	"nativeClient": "com.nvidia.cloudxr.ovr"
}Note: The file structure into which this file must be copied does not exist until the client is run for the first time. It is necessary to run the PureWeb client once to set this up. Thereafter if you need to overwrite the client.json file the folder should already exist.
26. On the Headset select “Library” (far right icon on the toolbar). Select ‘Applications’ and at the top of the screen change the dropdown menu from “All” to “Unknown sources”.
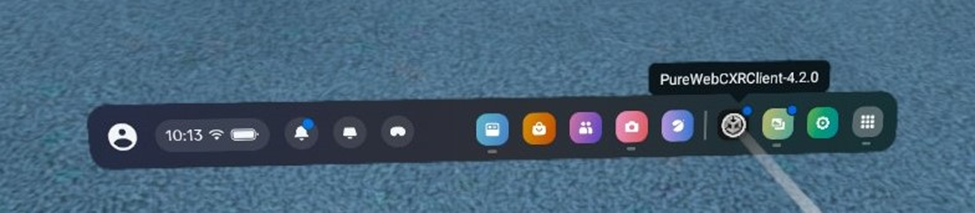
This should show the PureWeb clients like in the image below.
27. Click on the “PureWebCXRClient-{version}” as shown
(Do not open the ‘CloudXR Client’ as this is used internally).

The PureWeb client will launch and appear as an icon in the toolbar (as seen above, 3rd icon from the right).
28. When the PureWeb client opens a floating dialog will appear with no text. Quit the client by clicking the ‘Meta’ button on the right controller, this will bring up a dialog allowing you to quit. The PureWeb client toolbar icon can be used for subsequent launches (as above 3rd from right), however launching other apps in the Headset may push this icon off the toolbar. There is currently no way to pin this icon in place (this is a Meta Quest limitation).
29. Once you’ve run the client once and quit, use File Explorer navigate to the Meta Quest USB filesystem and copy your client.json file onto the Headset in the folder ‘../data/com.pureweb.nvidia.cxr/files’ as shown below.


Once this file is copied you can disconnect the Headset from the USB cable if you want.
30. In the Headset launch the PureWeb client from the toolbar or Library. Once you launch the client you will be taken to a waiting area while the client connects to the Platform and queries for the models in your CXR compatible project.
31. Click on a link to launch your model. Clicking on a model link will cause the Headset perform a few steps including searching for the nearest cluster by testing the roundtrip latencies, this should only take a few seconds. You will then be taken to a 'SteamVR' waiting area while your model loads. If you are running a large model for the first time (in an on-demand environment like CoreWeave) it may take a few minutes for the model to load as it needs to copy to the local filesystem. Once the model is ready it will run.

32. To exit the game click on the ‘Meta’ button on the right hand controller and quit the client. There is currently a limit of 5 models which can be shown in the Headset.
Additional Resources: