To ensure your CloudXR models are functioning correctly, you can test them locally by connecting your headset directly to your editor.
Note that this method does not fully replicate a CloudXR connection on the PureWeb Reality Platform, and might not replicate all issues you may encounter in building, packaging and deployment.
To identify problems early, use this workflow only after your model is packaged and ready to be deployed, or for troubleshooting if a cloud-hosted model is not working after initial deployment.
Local Workflow
Environment Configuration
Before starting please ensure your local environment is set up as follows:
- A supported VR headset (Meta Quest 2/3/Pro)
- A PC with a GPU capable of running the application (Nvidia A6000 or A10G equivalent recommended)
- The PC has the Steam Client installed
- Both the headset and PC must be connected on the same network (with firewall exceptions opened if necessary)
- Your VR model packaged correctly
- (Optional) PureWeb clients side-loaded on the headset
Install SteamVR
Download and install the SteamVR application to your Steam Client Library.

Launch the SteamVR application.
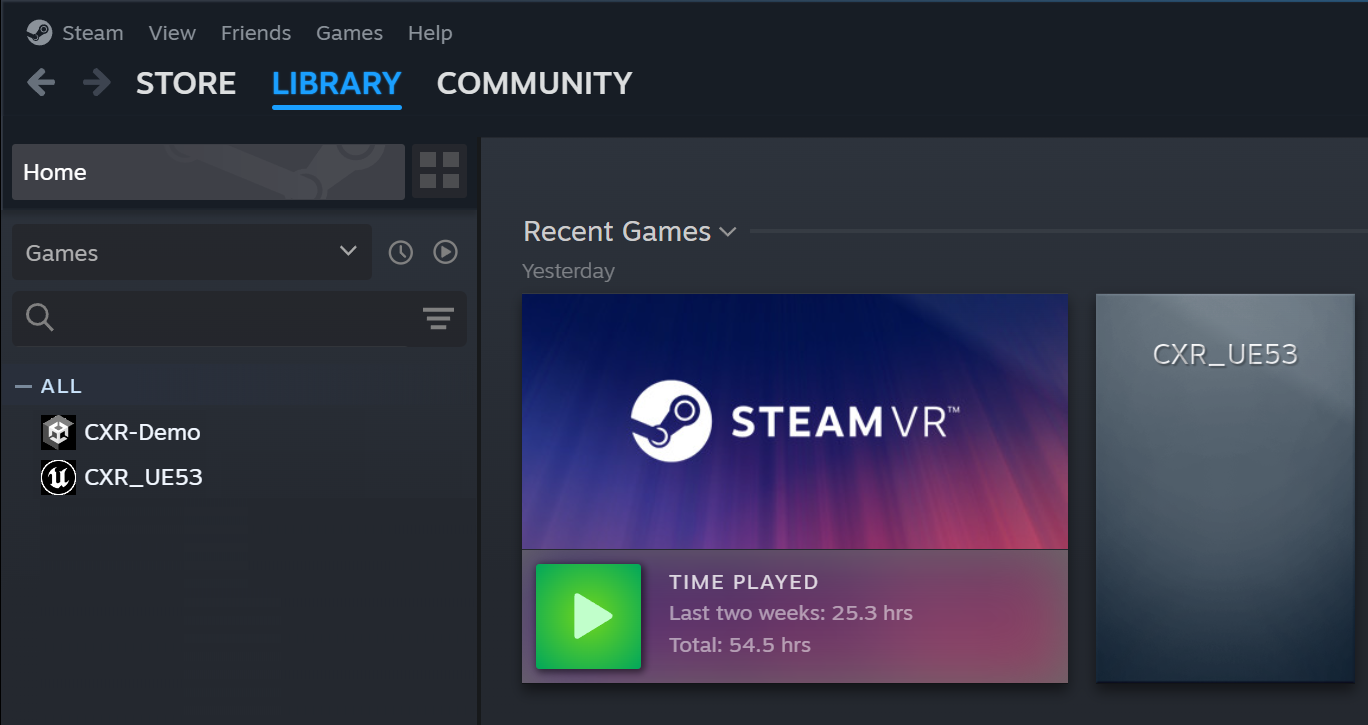
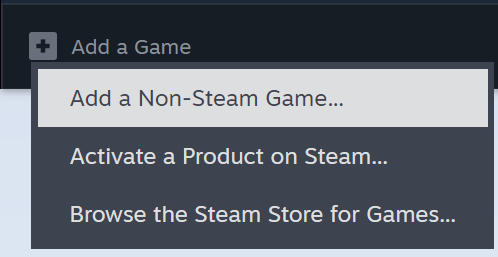
Add your model as a Non-Steam Game in the Steam client by left-clicking on Add a game > Browse to location
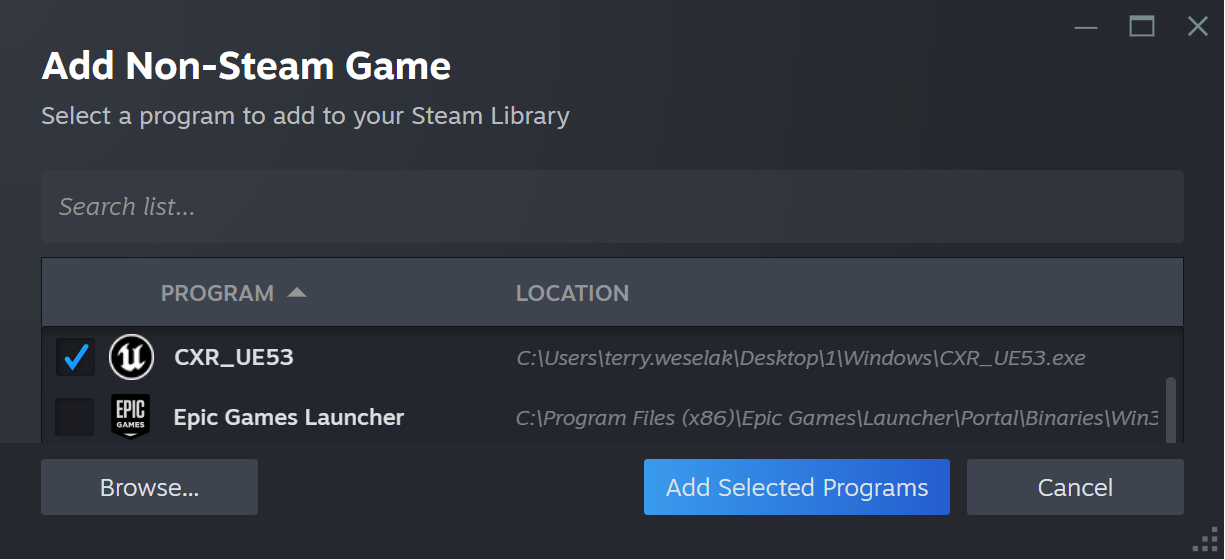
Now navigate to the location of your package VR model's main executable and select it, then click "Add Selected Programs."
Connecting to the Game
Without the PureWeb clients
If you want to connect without the PureWeb clients to test the model or don't have the optional clients setup on the headset:
Connect the headset to SteamVR through Steam Link (Steam Link should be installed by default, if not you can download it from the store).
From the headset Library, under All apps select Steam Link, which should find the PC that has SteamVR running.
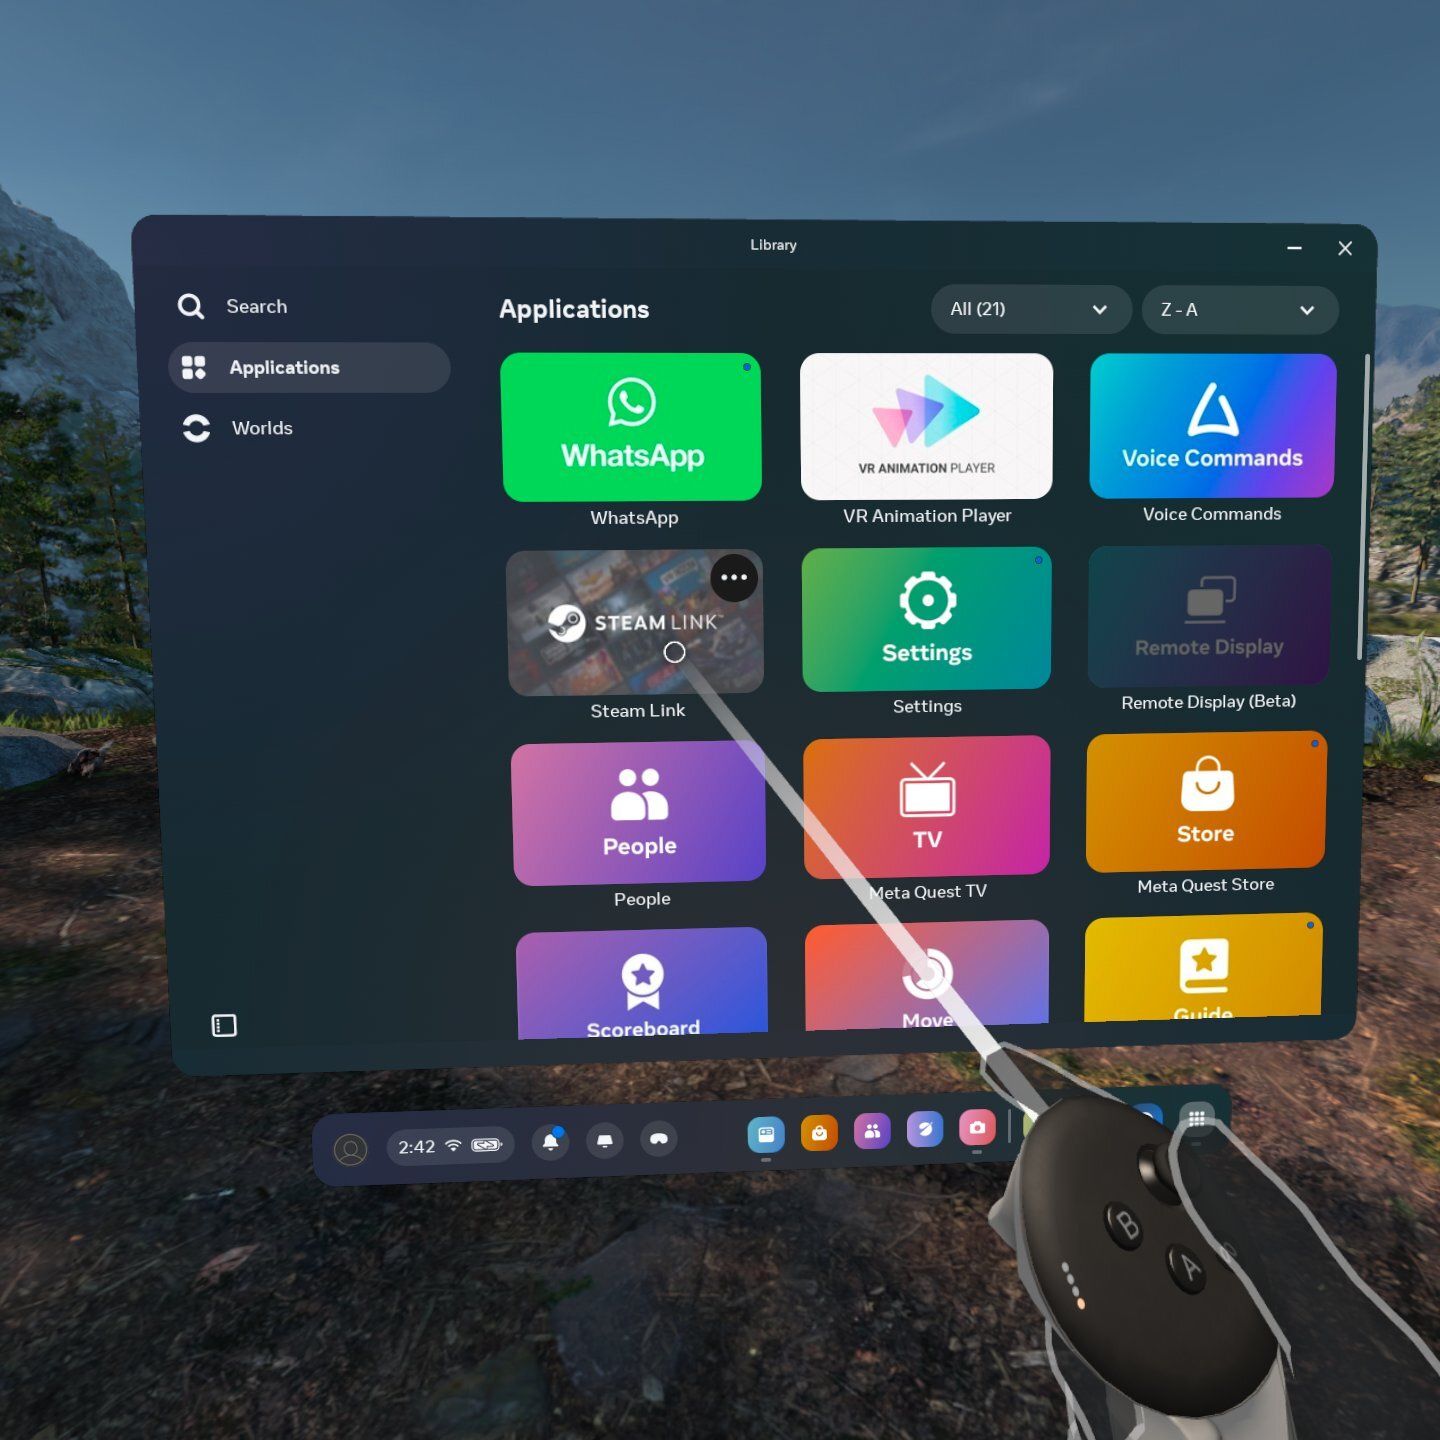
Click "Connect" to connect to your PC.
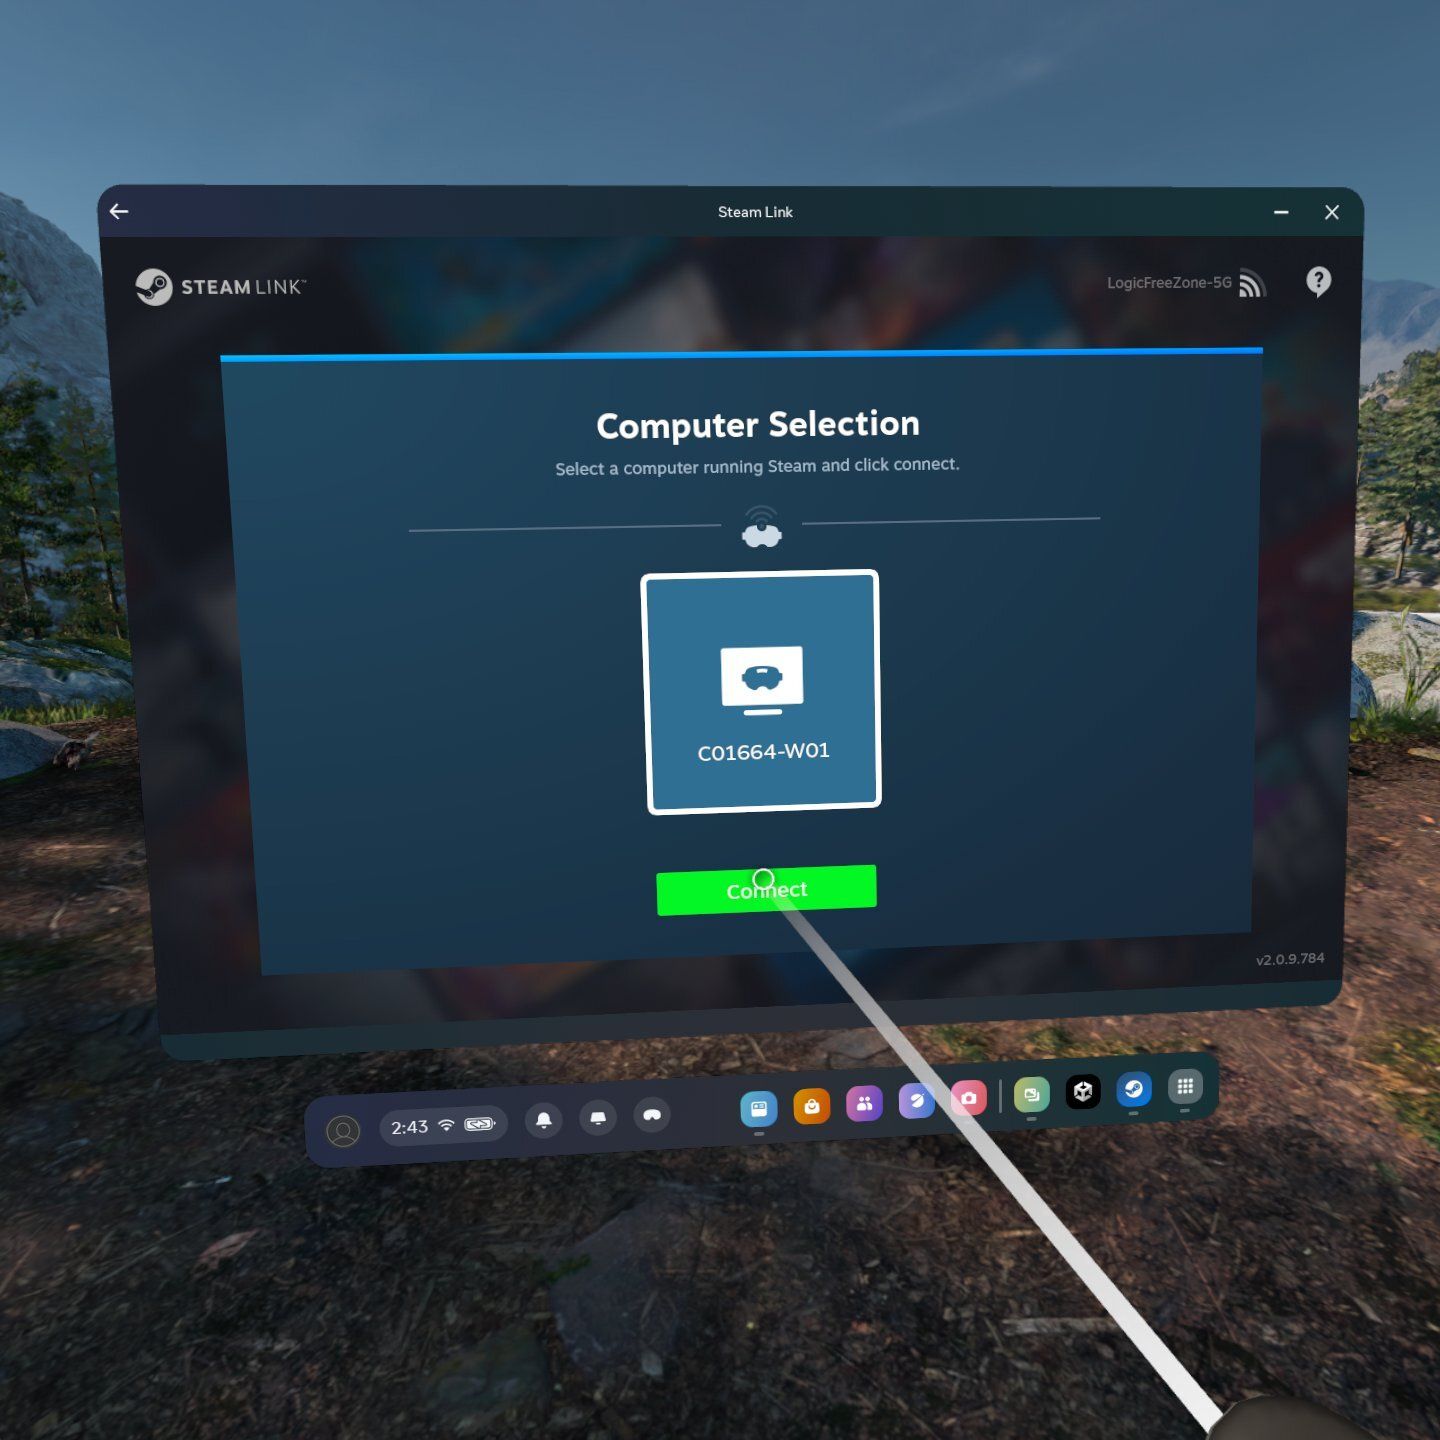
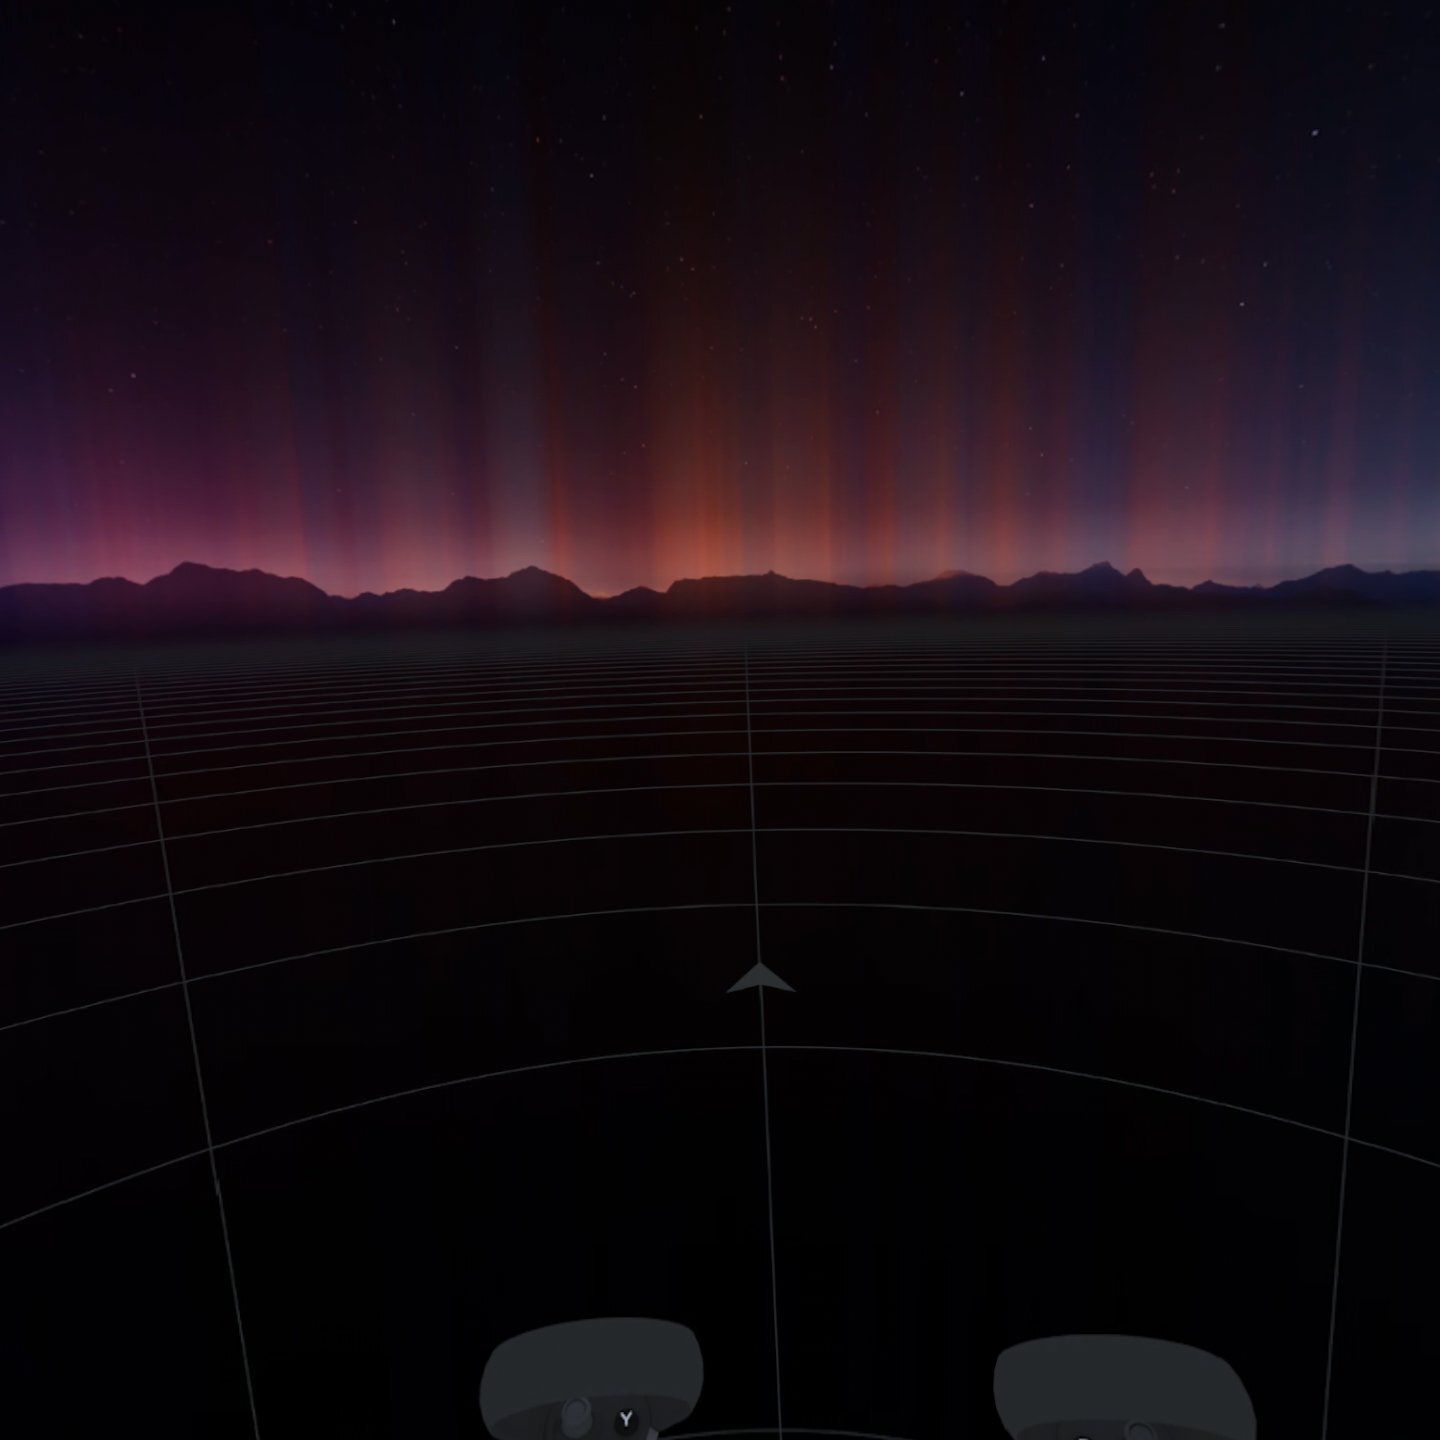
Now you should load into the Grid "Steam waiting room"
(Note: This view is configurable and may look different if it has been updated.)
With the PureWeb clients
If you want to connect with the PureWeb clients to test the model on the headset:
- In the client.json file add a new property:
"overrideIP": "[IP_Address_Of_Your_PC]" - Copy this file to the headset similar to the step described in the Configure the Client during Setting up your MetaQuest3 with PureWeb CloudXR Client.
When the overrideIP parameter is included, the client will ignore other parameters and launch directly to this IP address, so be sure to remove or adjust it when reconnecting to the platform to avoid connectivity issues.
- Launch the client from your headset as you normally would.
- In the Steam client, run the model you added earlier from Steam Library .
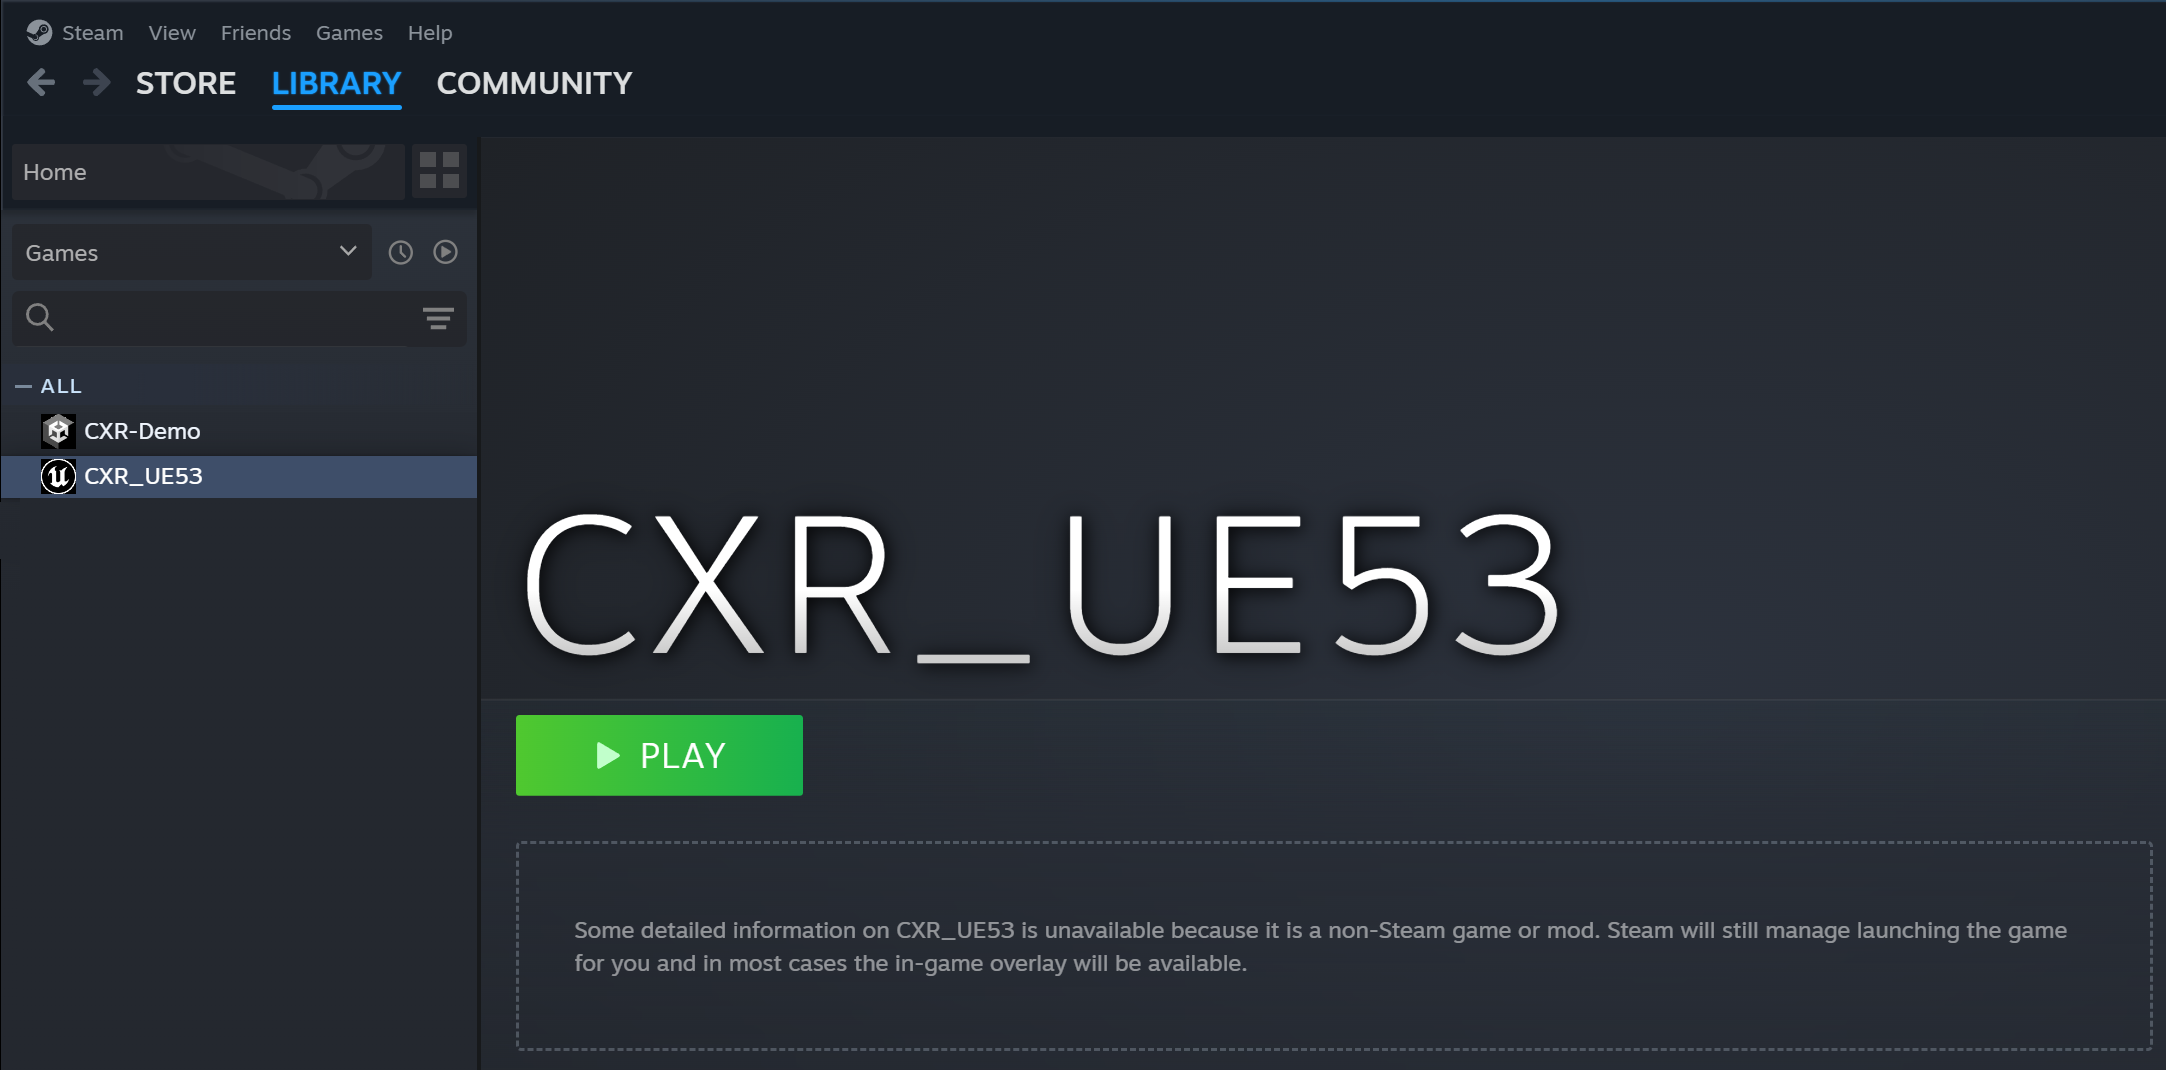
At this point, your model should either connect or display issues related to the model, build or packaging process. Common issues might include:
- No video stream (black screen)
- The model displaying in a large desktop view.
- Steam errors due to incorrectd model configuration with OpenXR.
- The client failing to connect and reverting to the horizon OS bar.
Should you encounter any of the above, please refer to our CXR troubleshooting guide.

