Unreal Cloud XR Troubleshooting
Black Screen
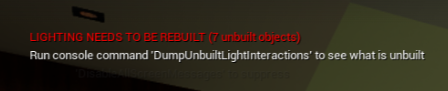
We have noticed that displaying certain text on the screen can lead to black screen problems. For example, running the stats FPS command to show the FPS or having messages like "Lighting needs to be rebuilt" can cause the stream to display a black screen.
To address the issue with the stats FPS command, we recommend removing the FPS counter. If you need to see your FPS, it can be manually calculated and added to a widget. If the FPS counter is necessary, adding a delay before running the command can help. A 5-second delay has been tested and found effective, whereas shorter delays may not work.
For on-screen error messages like unbuilt lighting notifications, please have the developer resolve these errors to prevent black screen issues.
For more details on the impact of the FPS counter, please refer to the "Jittery Experience" section below.
Jittery Experience
To improve your experience, ensure that nothing is printed on the VR screen. A common cause of jitterness is the default UE FPS display being turned on. Disabling this display can help resolve the issue.
Jagged Edges
If you notice that the edges of meshes appear jagged, especially when objects are far away or viewed at an angle, it might be due to Anti-Aliasing being turned off. To improve the appearance, you can enable Anti-Aliasing by going to Project Settings, Engine -> Rendering -> Default Settings -> Anti-Aliasing Method.
Important: If you choose the Multisample Anti-Aliasing (MSAA) method, you will also need to enable Forward Shading. This setting can be found under Engine -> Rendering -> Forward Renderer -> Forward Shading.
For more information, please refer to the Anti-Aliasing and Upscaling in Unreal Engine section of the Unreal Engine documentation.
Low Resolution Issues
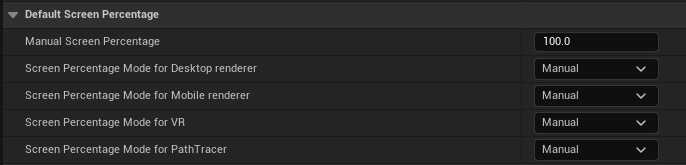
If your models appear to be in low resolution, it might be due to the Default Screen Percentage being set too low. You can find and adjust this setting by going to Project Settings, Engine -> Rendering -> Default Screen Percentage.
We recommend setting the Manual Screen Percentage to 100 and the Screen Percentage Mode for Desktop renderer to Manual. You can increase the Manual Screen Percentage to values like 110 or 120 for better resolution, but please note that this may impact performance and streaming quality.
Note: Additionally, be mindful that adding too many post-process effects can also negatively affect the visual quality.
FPS Issues
If you are experiencing low FPS, here are some steps you can take to improve performance:
- Reduce Post-Processing Effects: Post-processing effects can be GPU intensive, especially in VR. Removing or minimizing these effects can help improve FPS.
- Switch to Forward Rendering: You can change the rendering system to forward rendering by going to
Project Settings,Engine -> Rendering -> Forward Renderer -> Forward Shading. - Change Lighting Settings: Switching your lighting from from
stationarytostaticcan also help enhance performance.
These adjustments can help optimize your experience and improve FPS.
Controller Beam/Lines Not Showing
When setting up VR projects, you may encounter two types of pointer lines that are displayed though the VR controllers:
- Debugging Lines: These lines show where the hands/controllers are pointing and are typically in red color.
- Purpose-Built Pointers: These lines are designed for user control, often used for player movement or interactions.
If you see the red bug controller beam lines when launching your VR project and don't want to see them, it is likely because the project is built in debug mode. Rebuilding the project in shipping mode will remove the red bug lines and fix the issue.
If the purpose-built pointer lines are not appearing as they should, but they do show up in the editor, it could be due to improper implementation or missing files in the build process. A good way to confirm this is checking through a local workflow (e.g., Running Steam VR > from Headset, connect via a Steam Link > Starting the model on the connected machine).
Package Optimization
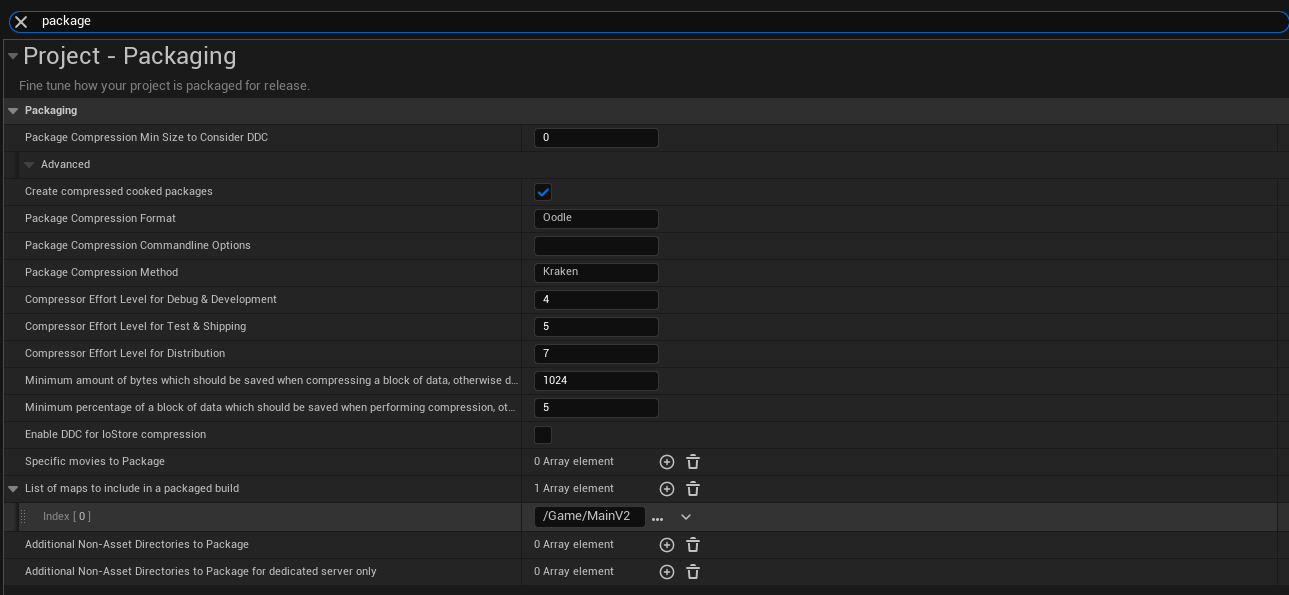
To reduce your package size, a simple method is to only include items necessary for the maps you are using.
You can do this by going into the Project Settings and searching for package. Under the List of maps to include in a packaged build, select only the maps your model runs.
Model Is Not Launching As A VR Model
If your model is not configured to launch as a VR model, you may notice the following symptoms:
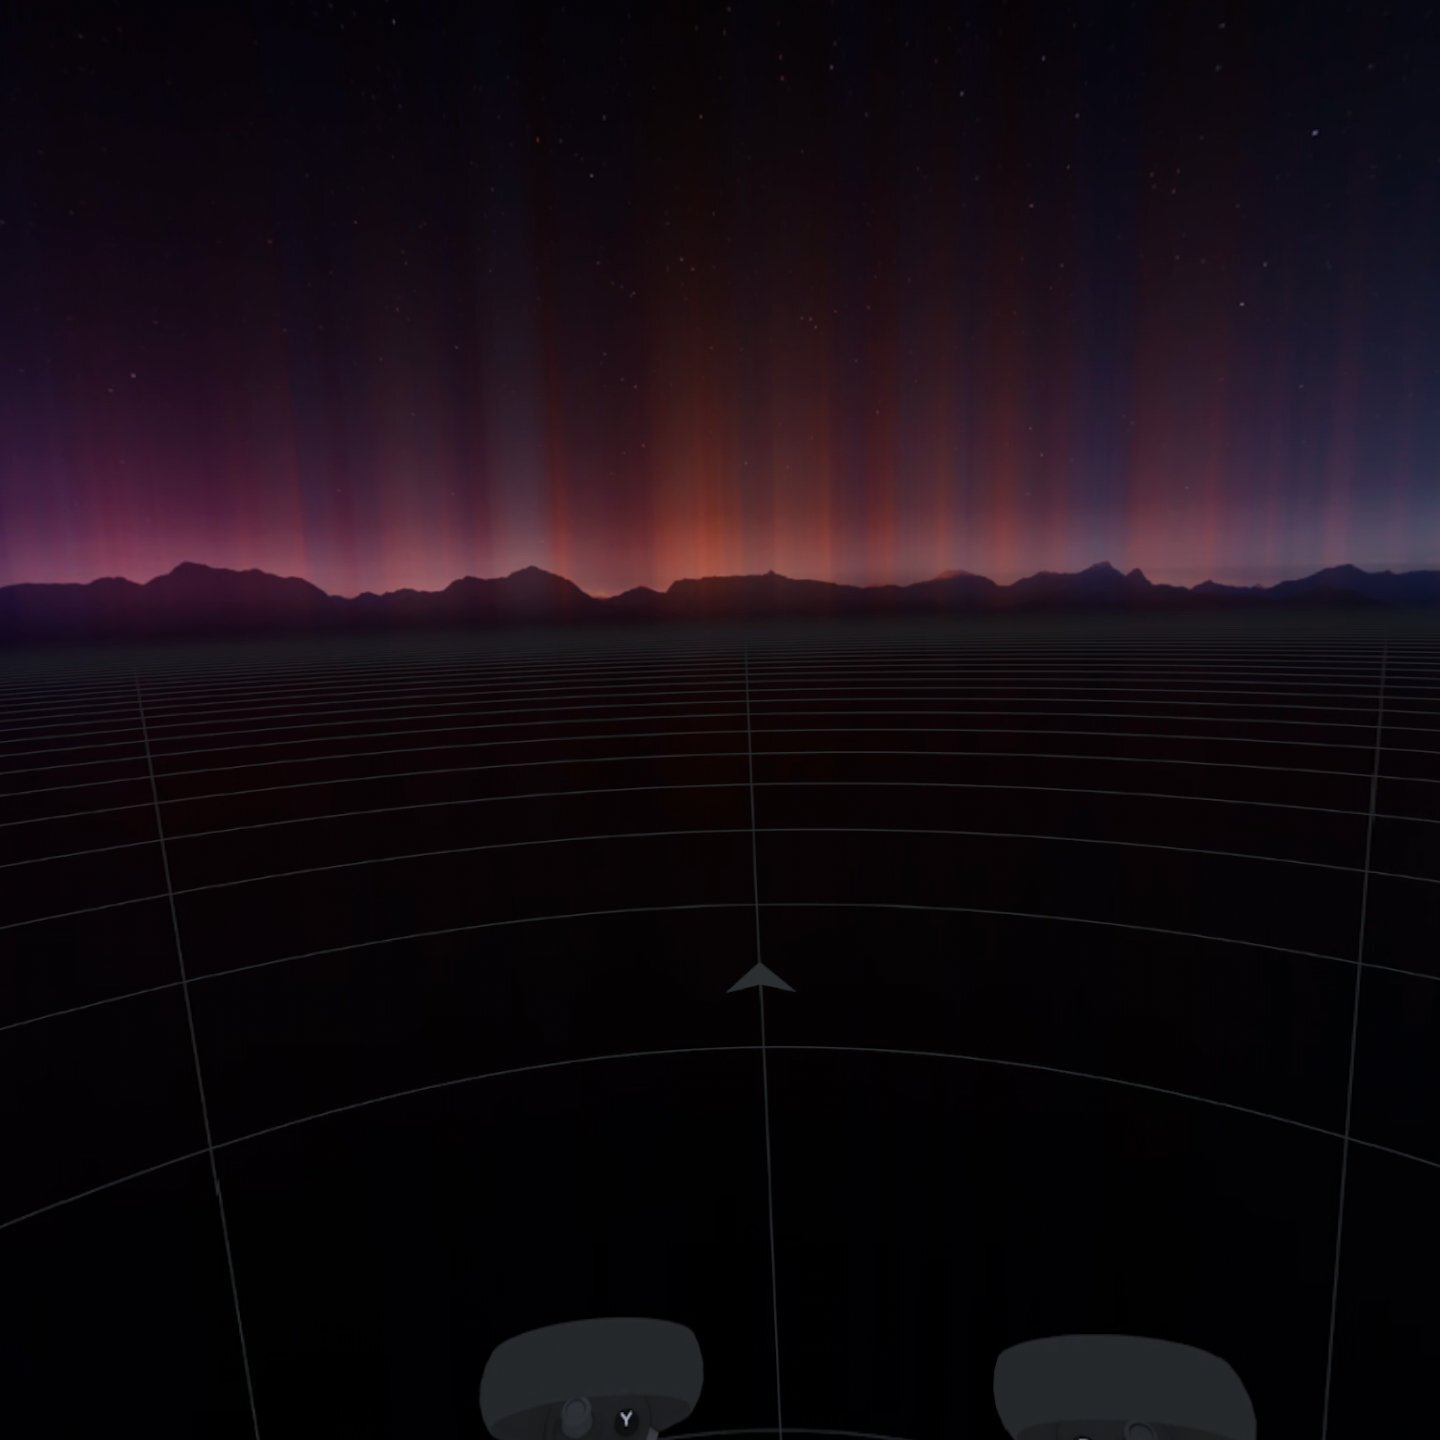
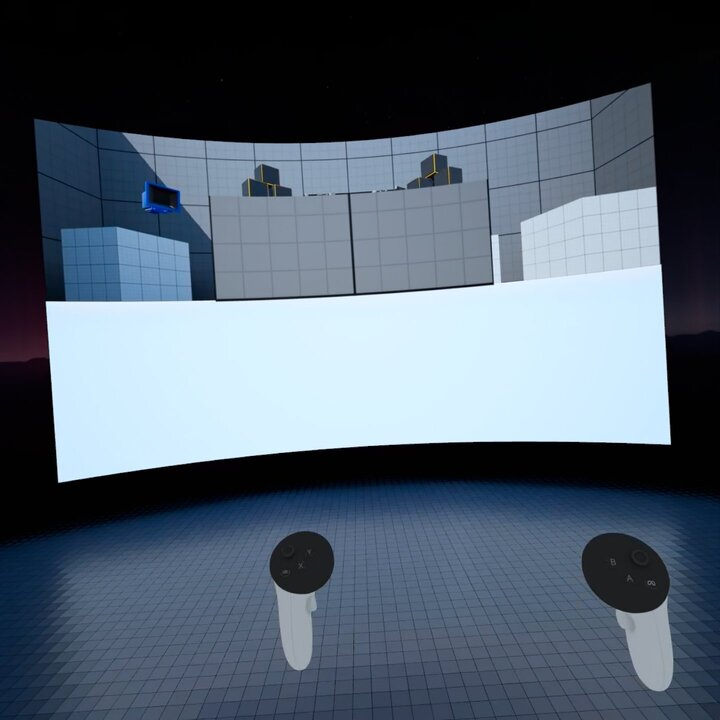
When the model is launched from the headset, the stream goes to the Grid (Steam waiting room) and never gets past this point. Usually you should see the stream at this point within 30 seconds, depending on model load time, if it is launched properly.
Secondly, attempting to launch a model through a local workflow (e.g., Running Steam VR > from Headset, connect via a Steam Link > Starting the model on the connected machine) results in a desktop view instead of a VR stream.
To ensure your model launches correctly in VR, check the following Unreal Editor settings:
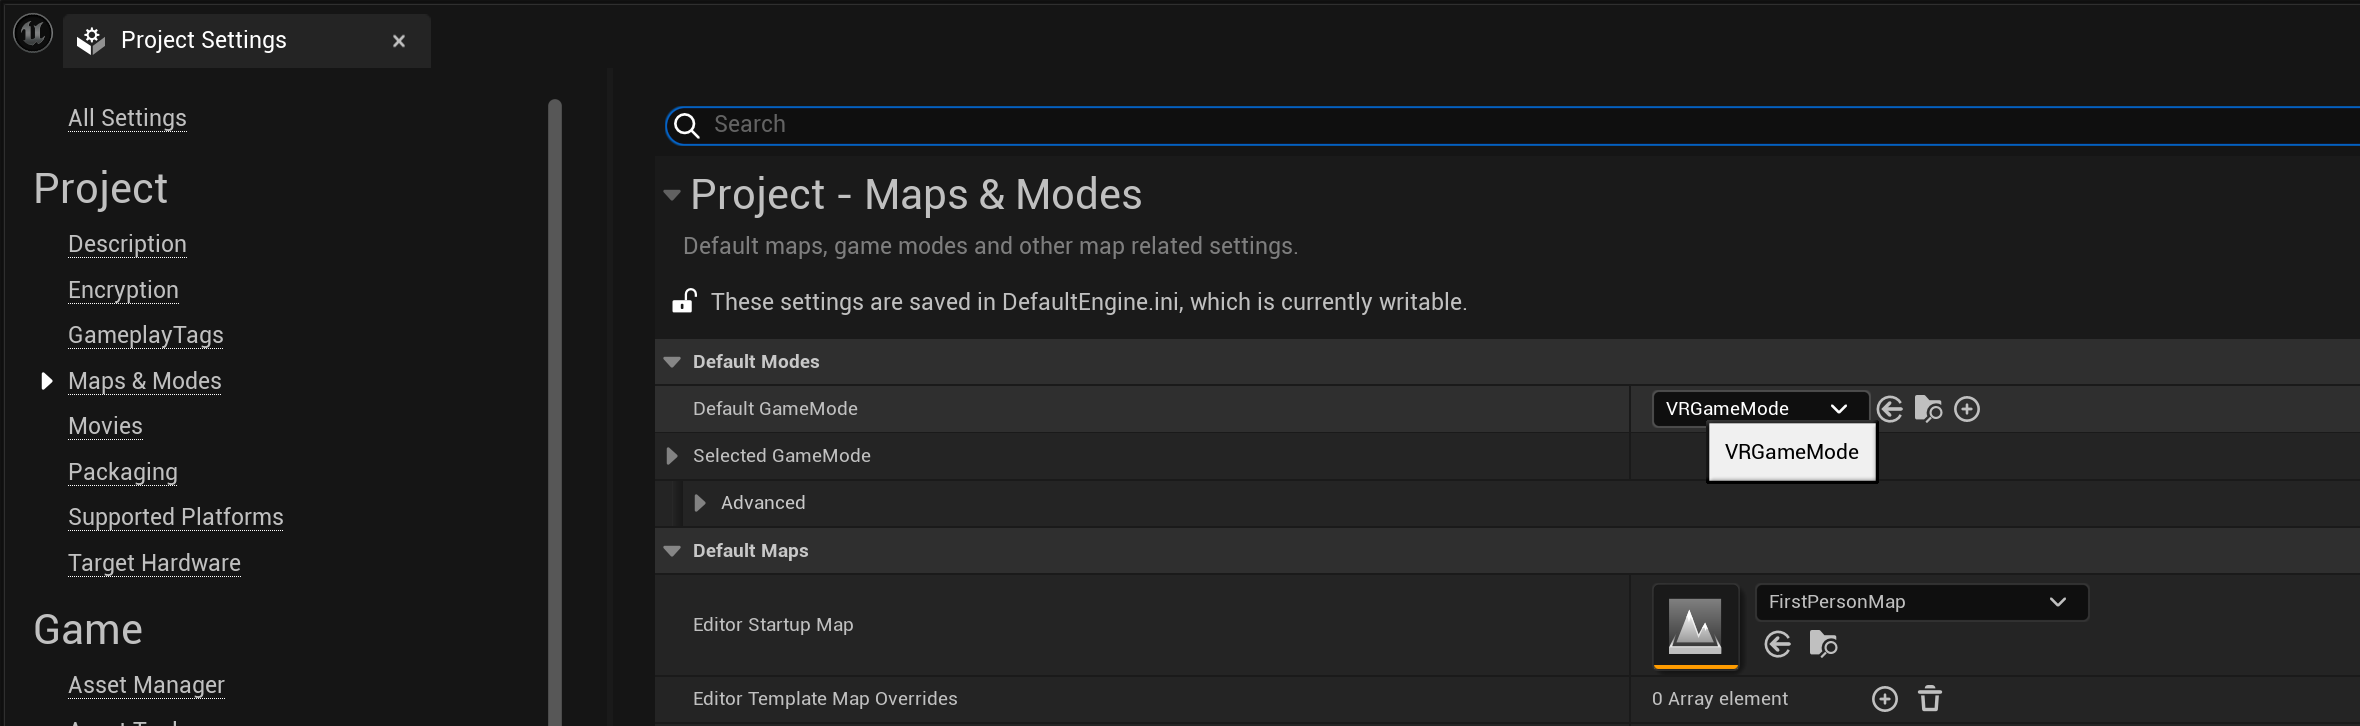
- Set Game Mode to VR:
Navigate to Edit > Project Settings > Maps & Modes > Default Game Mode > select VRGameMode
- Add and Enable the OpenXR Plugin:
Add the OpenXR plugin: Edit > Plugins > Search for OpenXR and enable the Plugin. (Restart the Editor if prompted.)

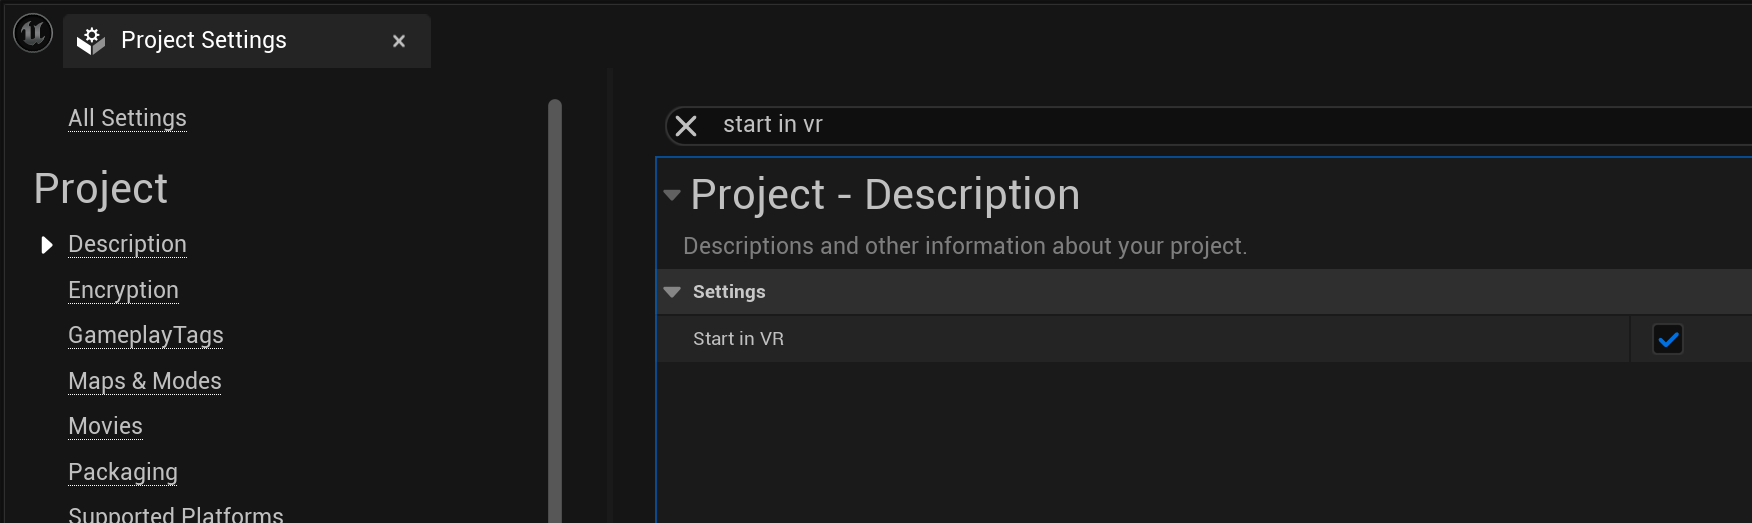
- Set the Game to Start in VR:
Set the game to start in VR: Edit > Project Settings > Search for start in vr and enable the setting.
- Remove On-Screen Console Messages:
Ensure there are no on-screen console messages. Refer to the "Black Screen" section above for guidance.
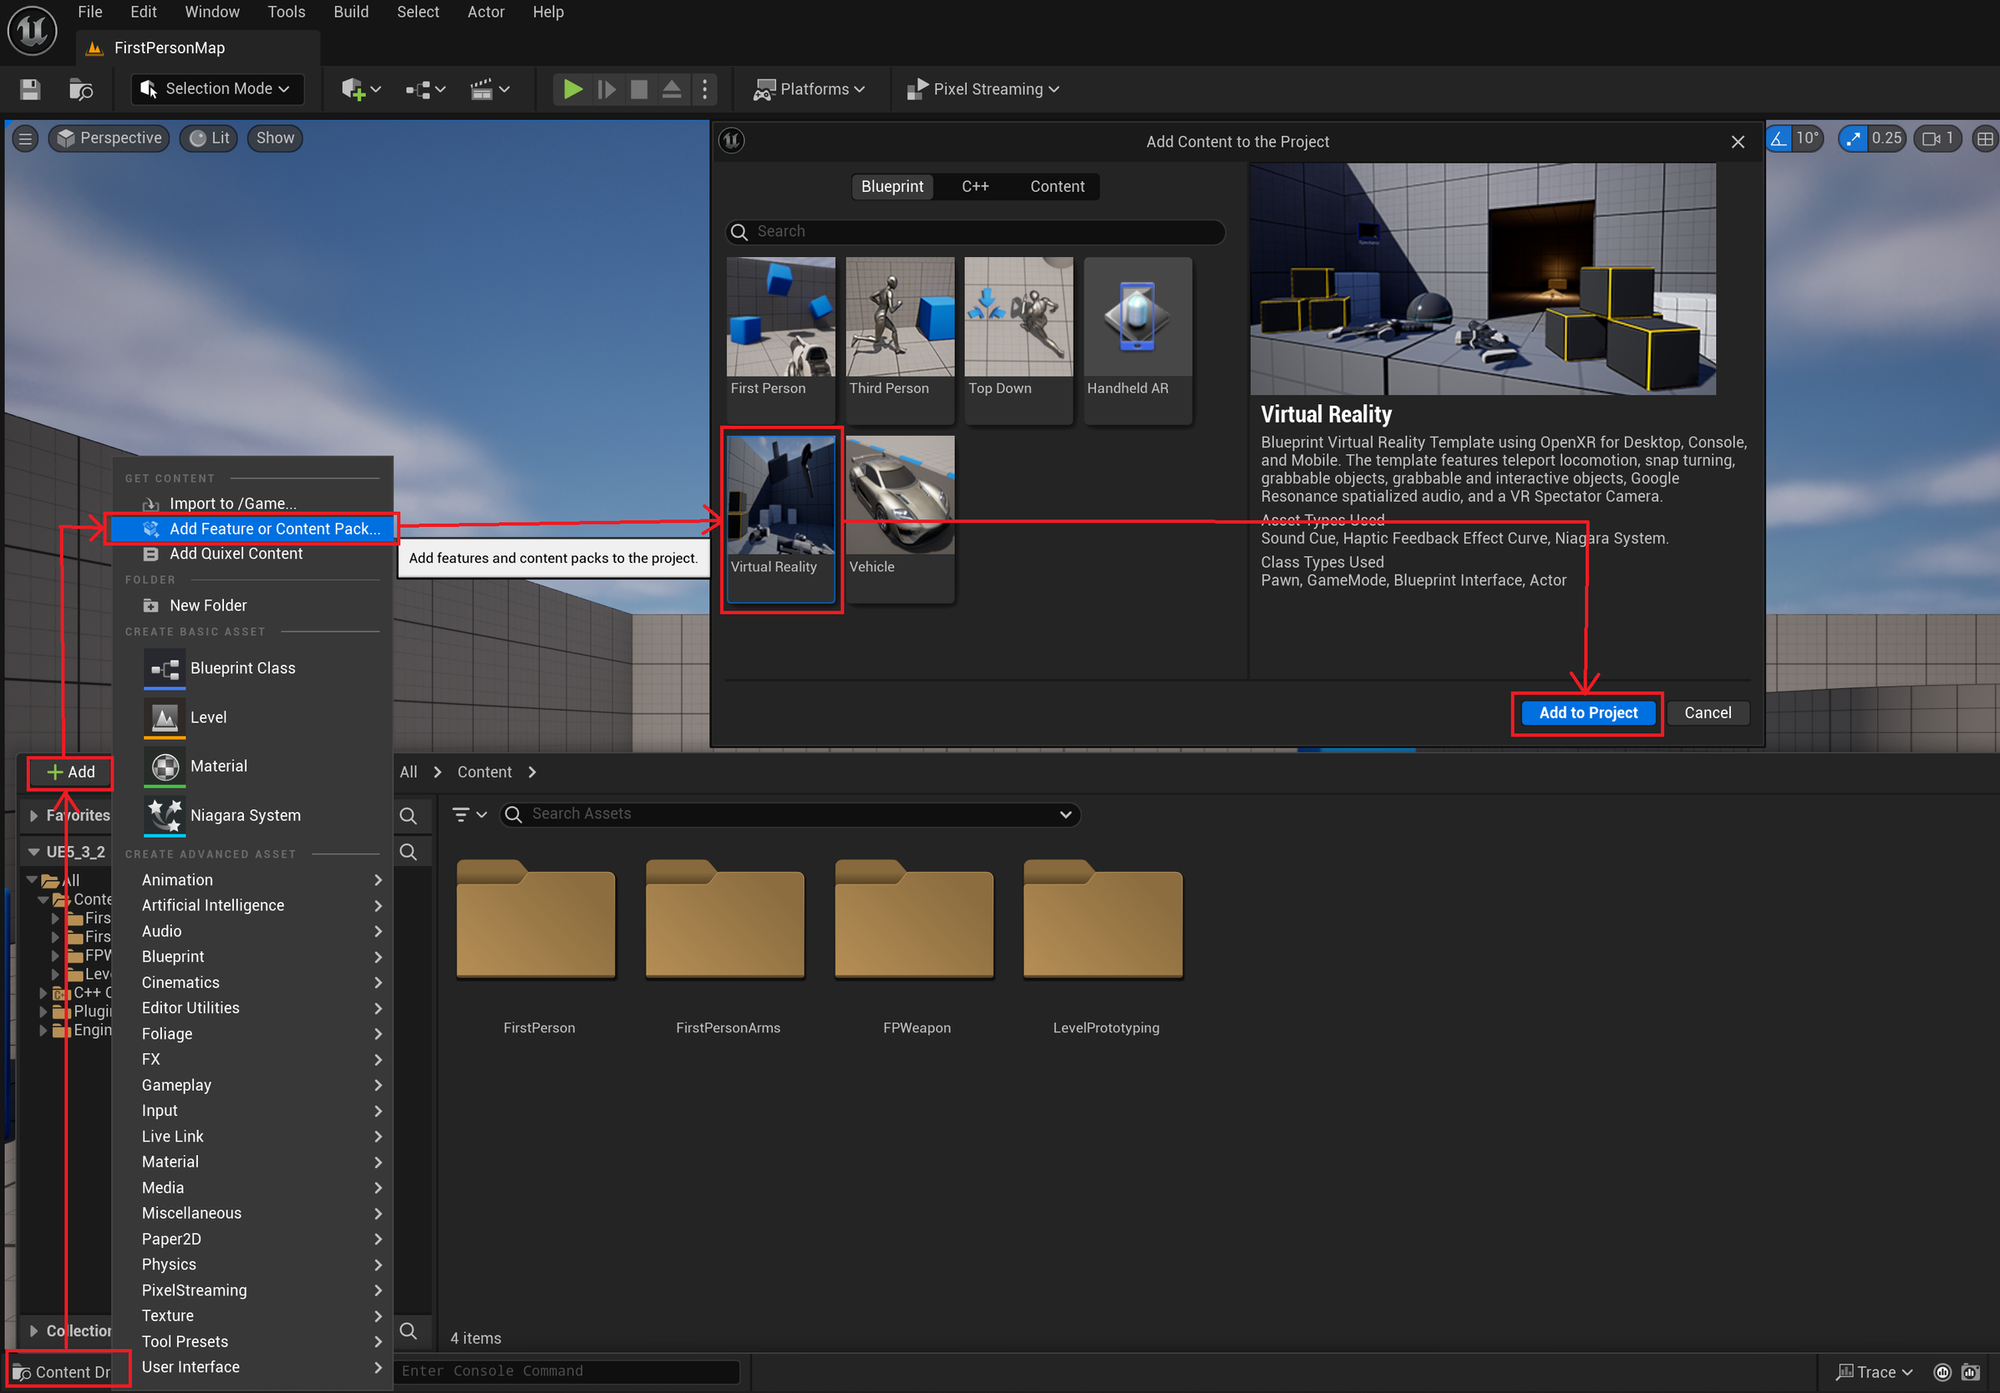
- Optional: If the model was initially started as a non-VR model, add VR content to the project:
In the Content Browser, go to Add > Add Feature Or Content Pack To The Project > select Virtual Reality > Add to project
Unity Cloud XR Troubleshooting
Jittery Objects
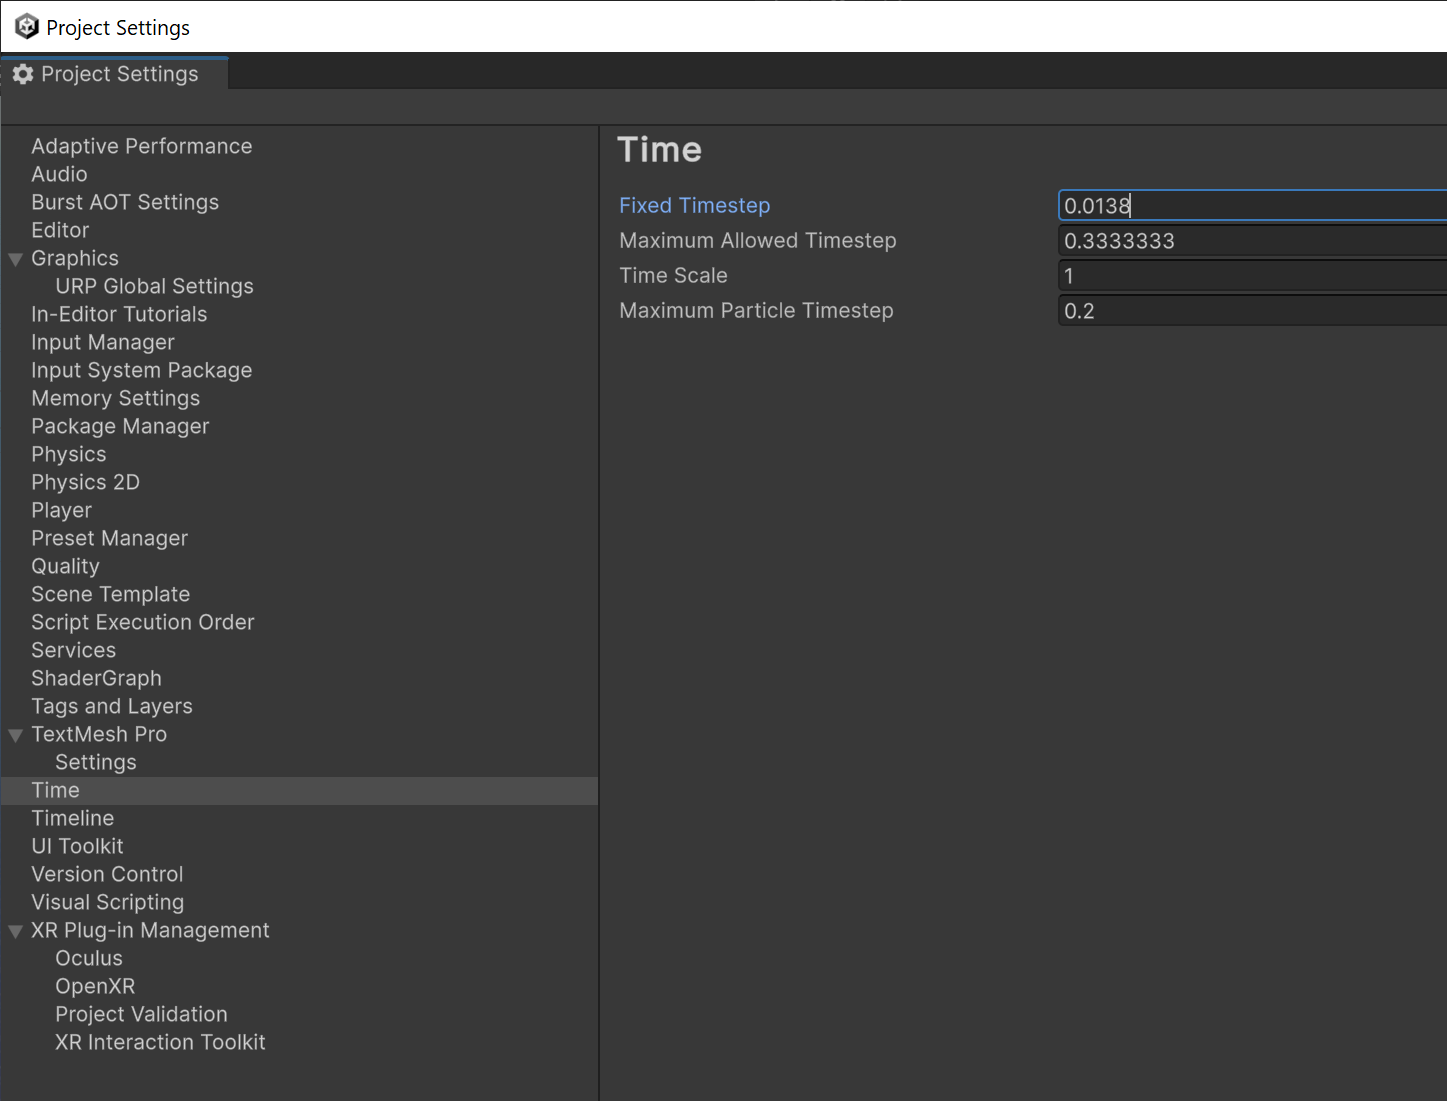
In some models, objects in the scene can be jittery when moving your head. We have found that objects controlled by the physics engine exhibit this behaviour when the physics engine is set to update at a lower rate than the FPS the headset receives.
In Unity the default is 50 FPS. Most sources recommend 90 FPS, but the current limitation in SteamVR is 72 FPS. Our recommendation is to update the physics engine to a range within 72-75 FPS until we can figure out how to increase this limit. (For more information on how the calculation is done click here.)
It is recommended that the physics engine match or exceed the FPS rate that the headset is receiving.
NOTE: Exceeding the rate by a significant amount will typically reduce the overall model performance due to unnecessary calculations, so it is recommended to only match or slightly exceed the FPS if you know the FPS will be variable.
To change this setting, in the Unity Editor, go to: Edit > Project settings > Time > Fixed Timestep
General Cloud XR Troubleshooting
Index
- HMD connection sometimes doesn't connect to the model/game.
- Models launched can leave a server in a bad state.
(1) HMD Connection sometimes doesn’t connect to the model/game
In some launches, typically less than 5%, the HMD fails to connect to the model and the client ends up in the Steam Mountain Cabin waiting room, [need screenshot]. Unfortunately the cause of this isn’t known yet. The workaround to this is to relaunch the session.
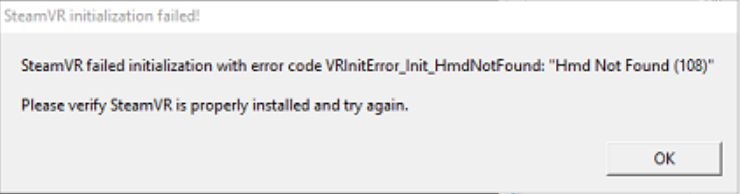
(2) Models launched can leave a server in a bad state
We came across this with an early version of the ford model from Imagination. When their model was launched, this error steam was thrown: SteamVR failed initialization with error code VRInitError_Init_HmdNotFound: "Hmd Not Found (108)" Please verify SteamVR is properly installed and try again.
Additional CloudXR Troubleshooting Guide and CloudXR Game Package Preparation (FAQ)
1. Do I need to follow the PixelStreaming preparation guides for CloudXR or VR game packages?
No, for CloudXR or VR game setups, the standard PixelStreaming guides for Unity and Unreal (listed here for Unreal and here for Unity) should not be followed. These setups have different requirements, particularly around handling audio and input.
2. Why is audio not working in my Unity VR game with the PureWebStreaming script?
The issue is likely caused by a conflict between the script’s audio listener and the main camera’s audio listener. The PureWebStreaming script from the PureWeb Plugin is designed for PixelStreaming, which takes over the audio stream. To resolve this:
- Solution: Remove the PureWeb Plugin and recompile the VR game. The audio should then work in the VR headset.
3. Can I use a single model for both PixelStreaming and VR?
Yes, it is technically possible to build a model that works for both PixelStreaming and VR, but it is not officially supported. Audio and other elements would require additional configuration, particularly in the plugin and game project, to function properly in both modes.
4. How should I prepare separate game packages for VR?
For VR-specific packages, follow the setup guidelines from the Unity and Unreal documentation focused on VR:
5. Why does PixelStreaming conflict with VR setups?
PixelStreaming takes control over the audio and video streams, which interferes with the functionality needed for VR. In VR, the audio and video streams are processed differently and must be directly handled by the headset. As a result, PixelStreaming should not be included in CloudXR or VR game packages.
Additional Tips
If you are preparing both VR and non-VR versions of your game, we recommend keeping separate builds and project folders in the console to avoid conflicts with audio and other systems.