Before following the steps below, please make sure you have the 'Game development with C++' components included in your Visual Studio or Visual Studio Code installation.

After adding the C++ file to your Unreal project, you may encounter a message in Unreal Editor like the following.
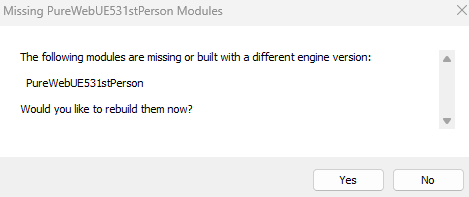
The reason for this is that you do not have pre-built binaries of those C++ classes, or they are built with a different engine version.
Select 'Yes' in the above dialog box.
When you try to re-open your Unreal project, it may fail to open and display an Error message like this:
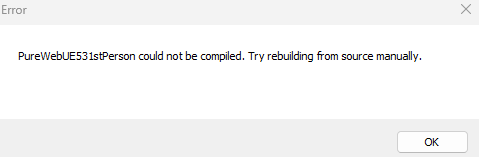
Select 'OK', then follow these steps:
- Close all instances of Unreal editor.
- Open the File Explorer and go to the folder that contains your Unreal project files.
- Find the .sln file in the root of that folder, and open it in Visual Studio.

4. If Visual Studio tells you that there are any missing dependencies needed, install them now.
5. Under the Build menu, select "Build Solution."

6. Once completed successfully, close Visual Studio, and open the Unreal project in the Unreal editor.
7. Package the project.